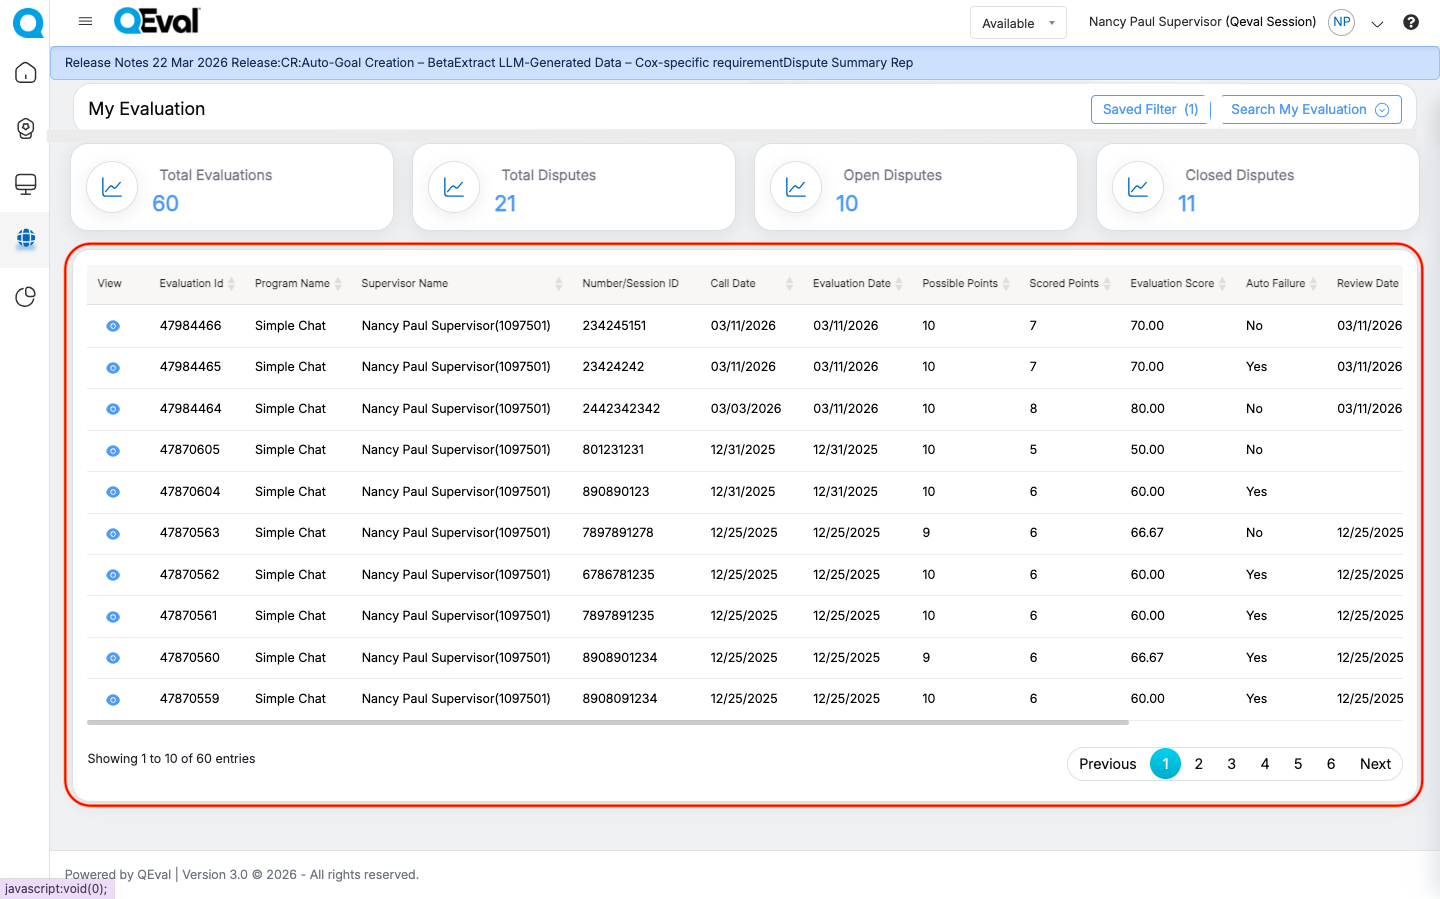
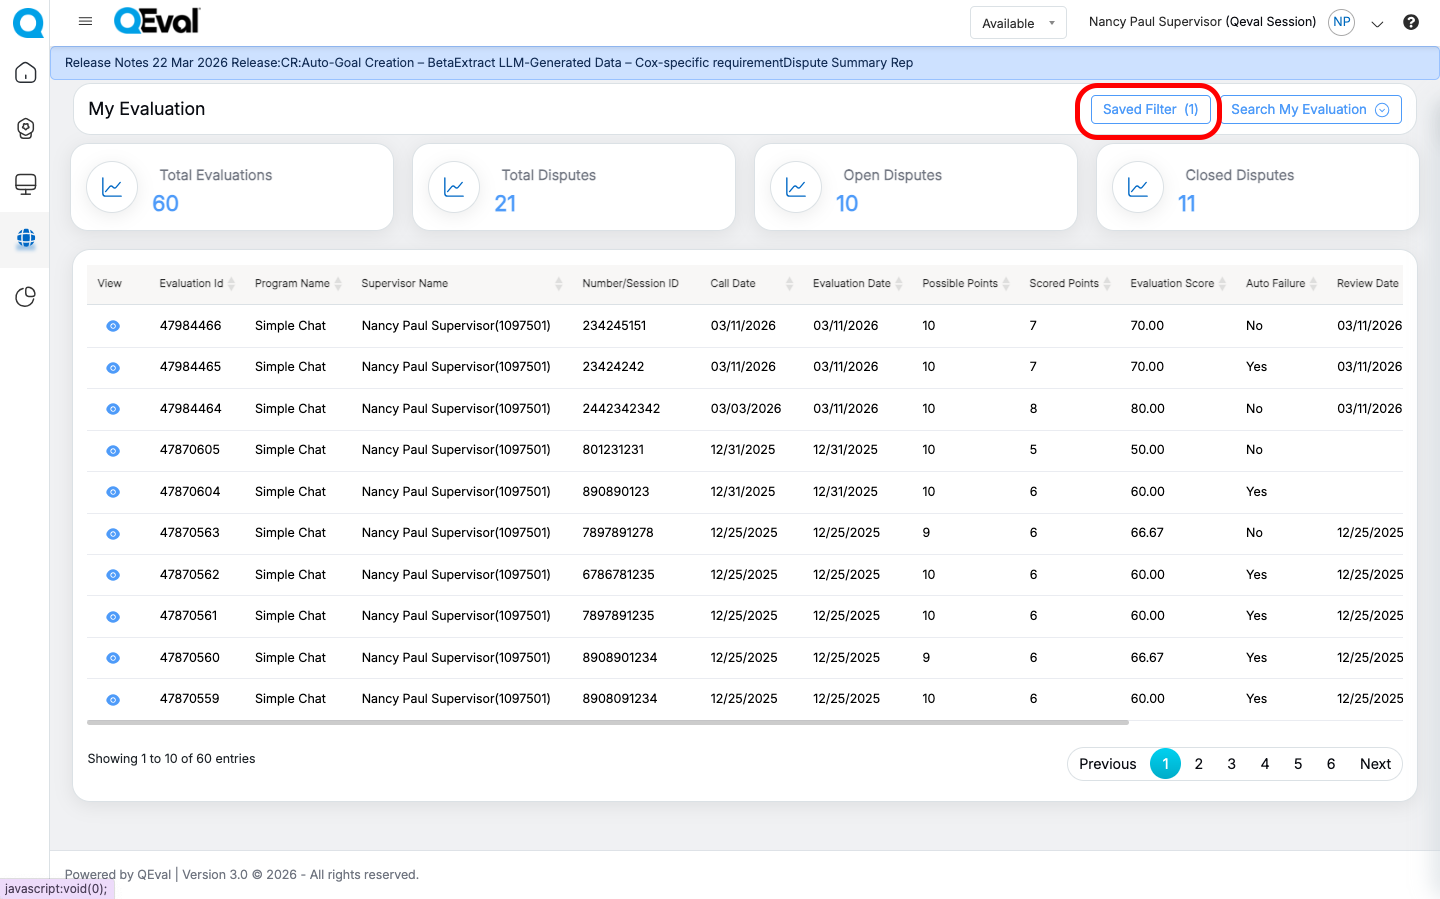
My Evaluation page gives all the details regarding the agent’s call/chat evaluations. It displays all the information related to reviewed evaluations, pending to review, and the total number of evaluations. The agent and supervisor can view, review and dispute on the evaluations provided for them.
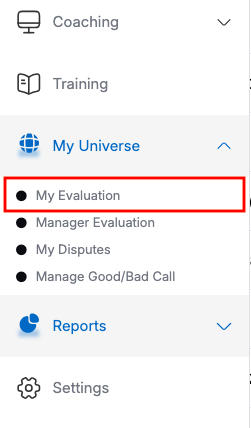
To access the My Evaluation page, select My Universe > My Evaluation as shown below:
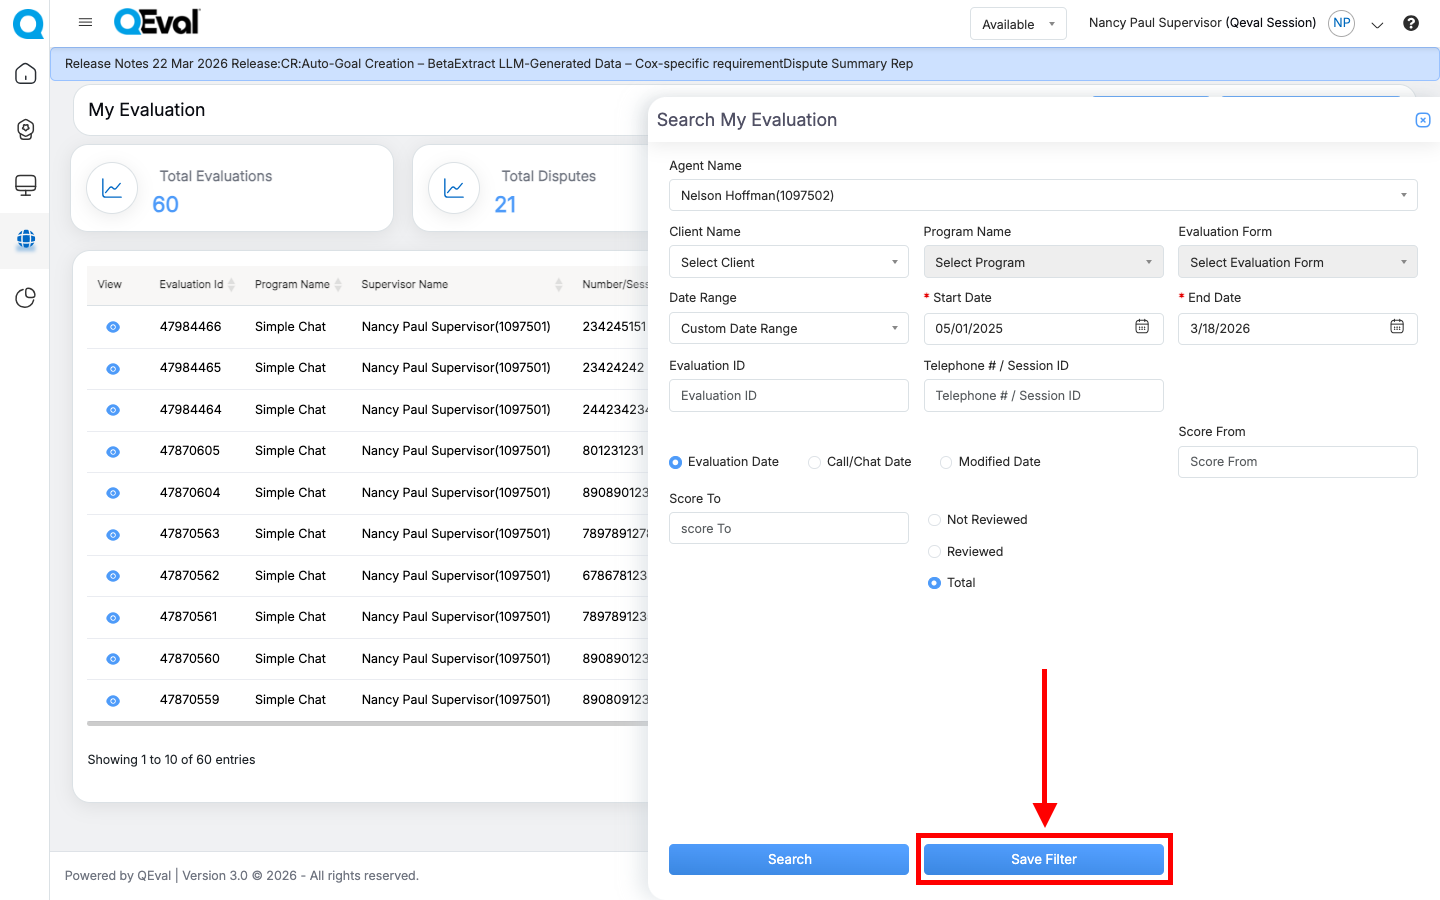
Search My Evaluation
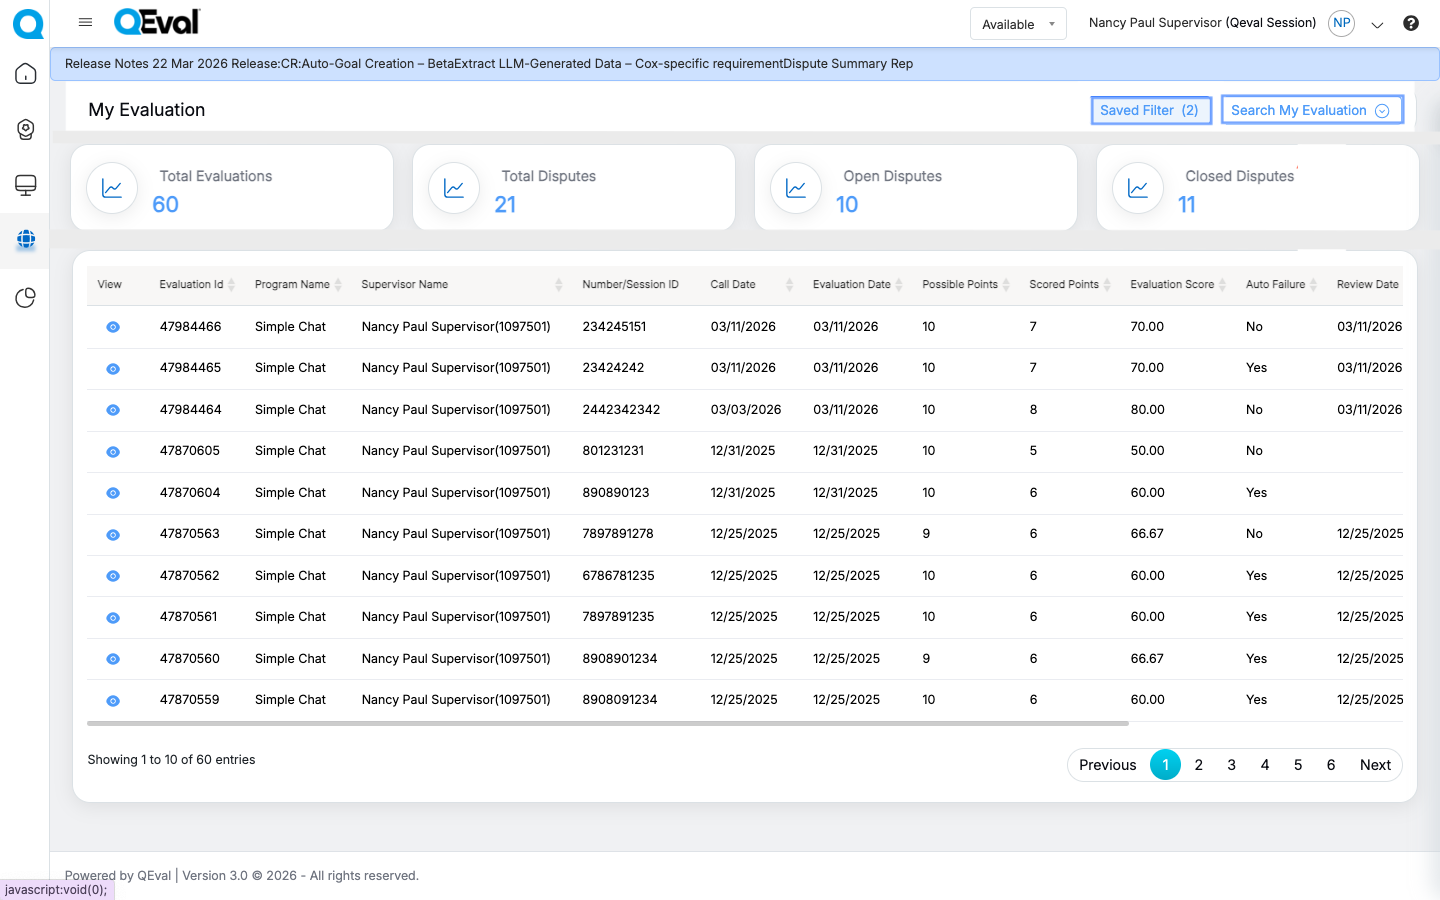
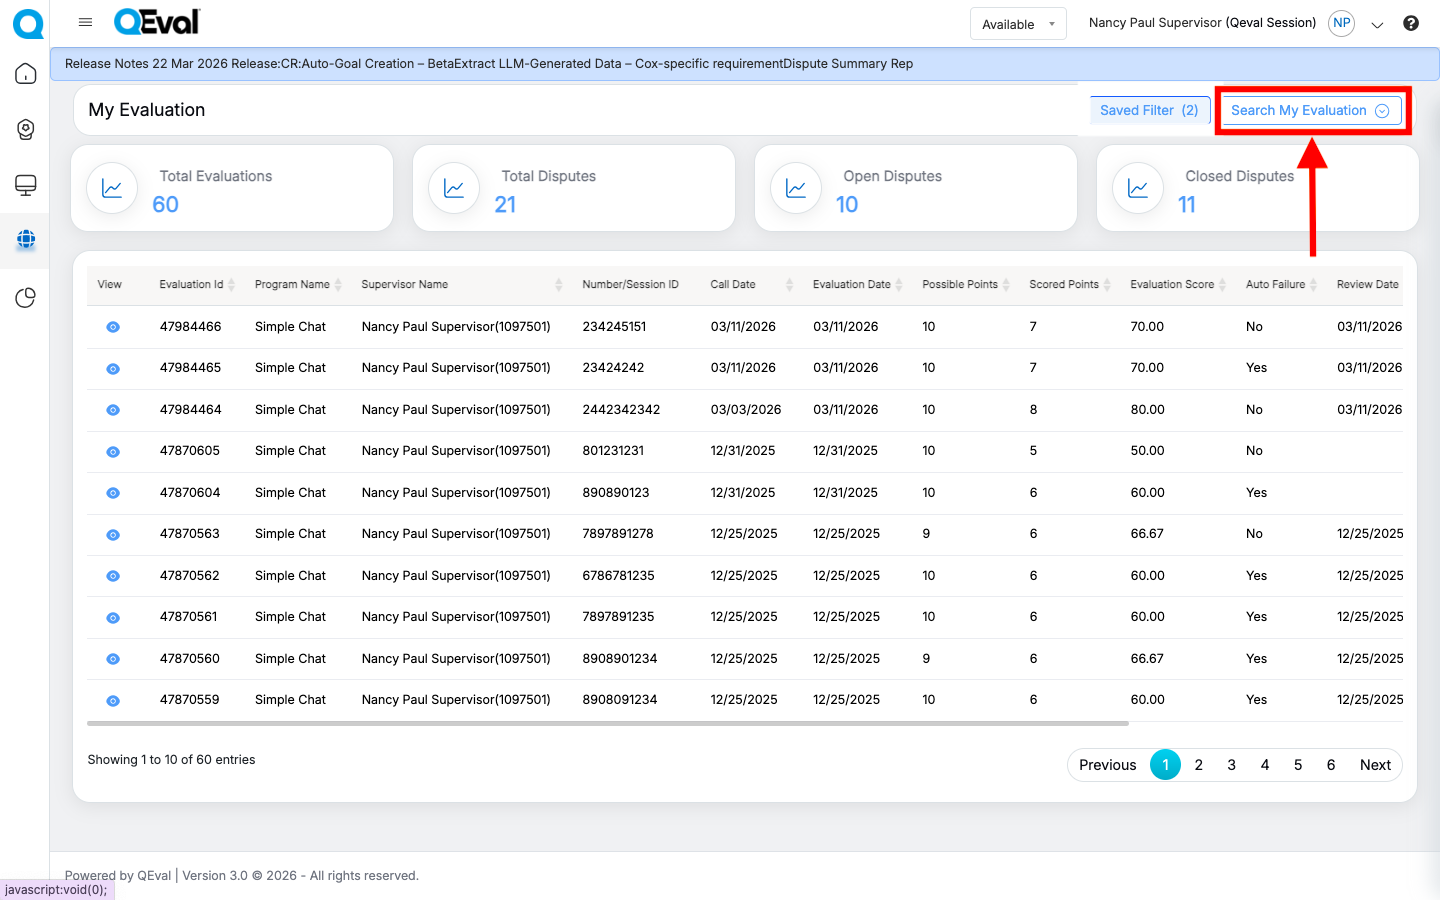
A search evaluation functionality helps a user search for specific evaluations.
Click on the Search My Evaluation button to search for an evaluation.
|
Screen Elements |
Description |
|---|---|
|
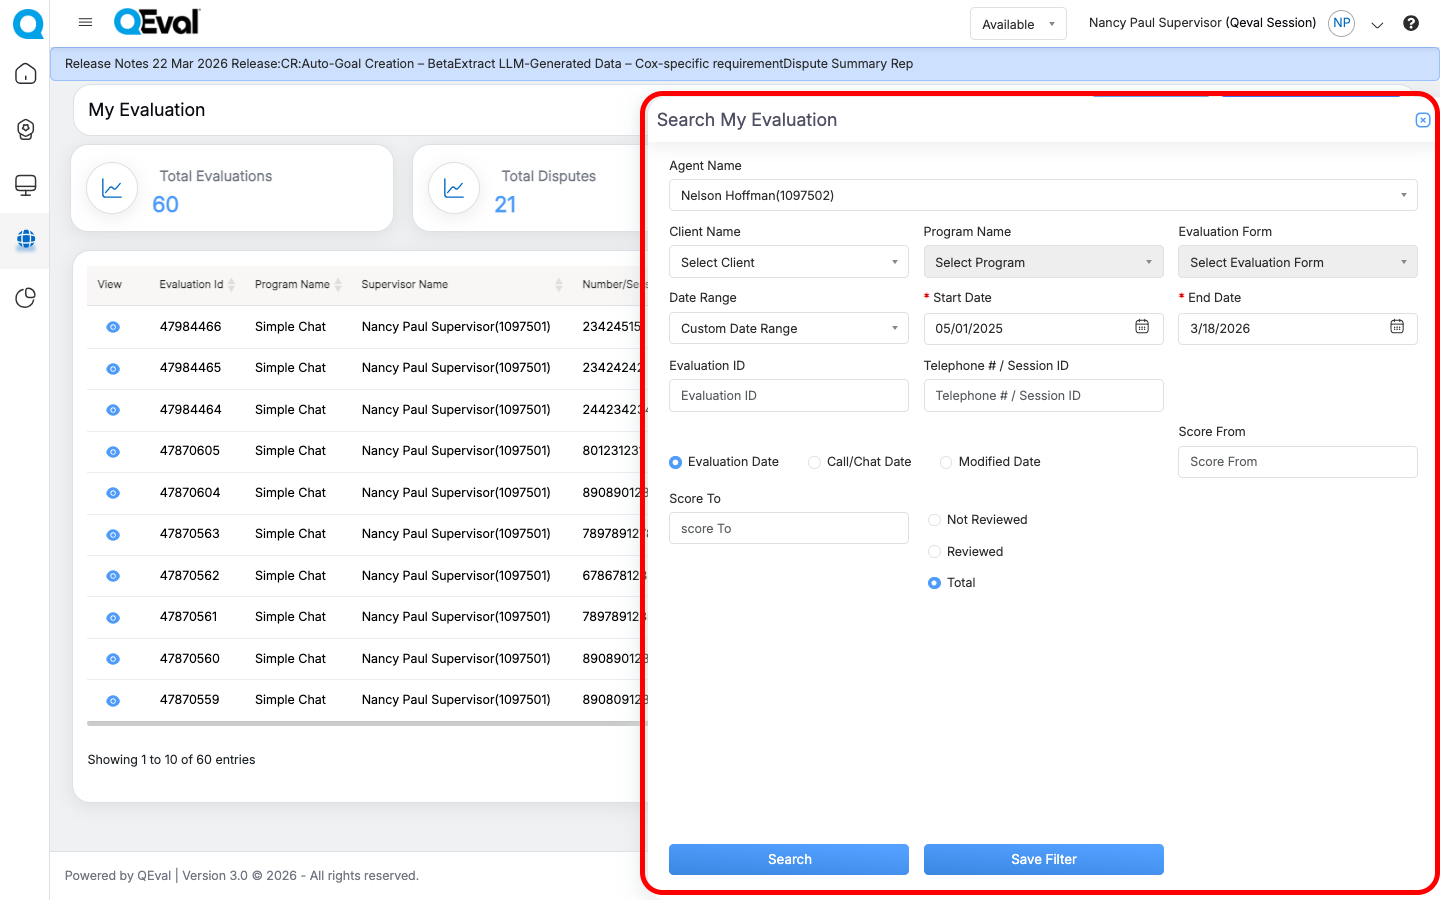
Agent Name |
Select the Agent name from the dropdown list. |
|
Client Name |
Select the name of the client from the dropdown list. |
|
Program Name |
Select a program from the dropdown list which will display the Program Names as per the selection of the Client Name. |
|
Evaluation Form |
Select the evaluation form for the selected program of a client from the dropdown list. |
|
Date Range |
User can define a date range by either selecting from predefined timeframes in the dropdown or specifying a custom range based on the need. Available filters include Today, Last 7 Days, Last 10 Days, Last 30 Days, Last 12 Weeks, Last 6 Months, Week to Date, Month to Date, Previous Day, Previous Week, Previous Month, and Custom Date Range. Select the option that best suits your requirements. |
|
Start Date |
If user selects the custom date range then users would be able to select the start date and end date as per their need. |
|
End Date |
Select the end date here |
|
Evaluation ID |
Enter the Evaluation ID in this field based on which the evaluation should be searched. |
|
Telephone # / Session ID |
Enter telephone or session ID based on which evaluation should be searched. |
|
Date Type |
|
|
Score |
Enter the score range based on which the evaluation should be searched
|
| Review |
|
To view the evaluations as per the entered search criteria, click on the Search button.
The list of evaluations will be displayed as per the set filters.
Save Filter
The Save Filter feature allows users to store frequently used search filter combinations and quickly reuse them later. This helps save time and ensures consistent search results without manually applying the same filters each time.
1. Saving a Filter
After applying the desired search filters:
Click Save Filter at the bottom of the search panel.
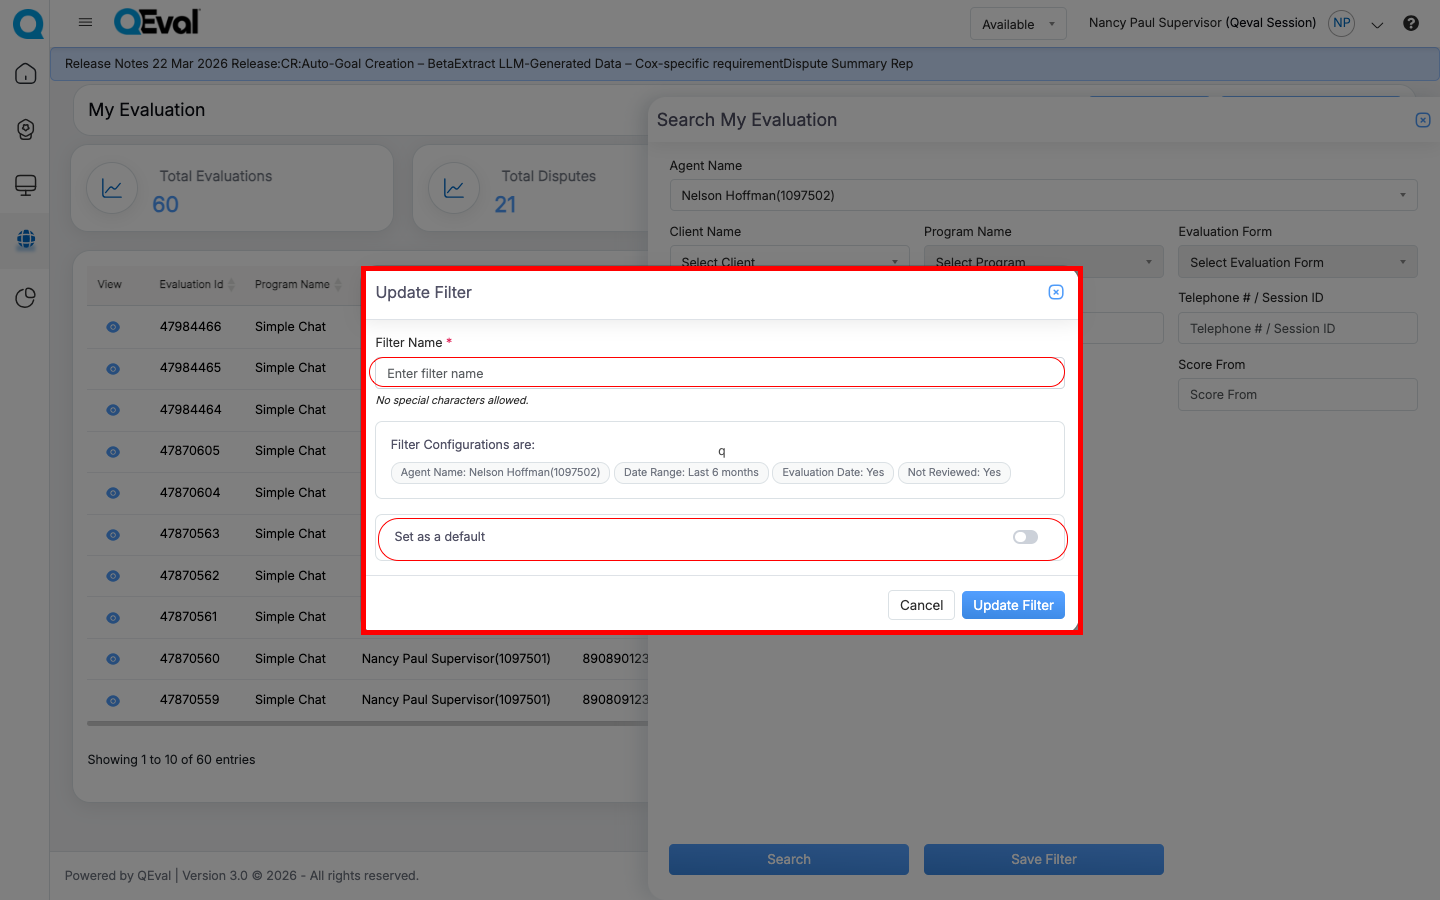
Enter a Filter Name in the pop-up window. Review the filter configuration and toggle On/Off if you want to set it as the Default Filter, which will be automatically applied whenever you log in and access the My Evaluation section. Make the required selections as needed.
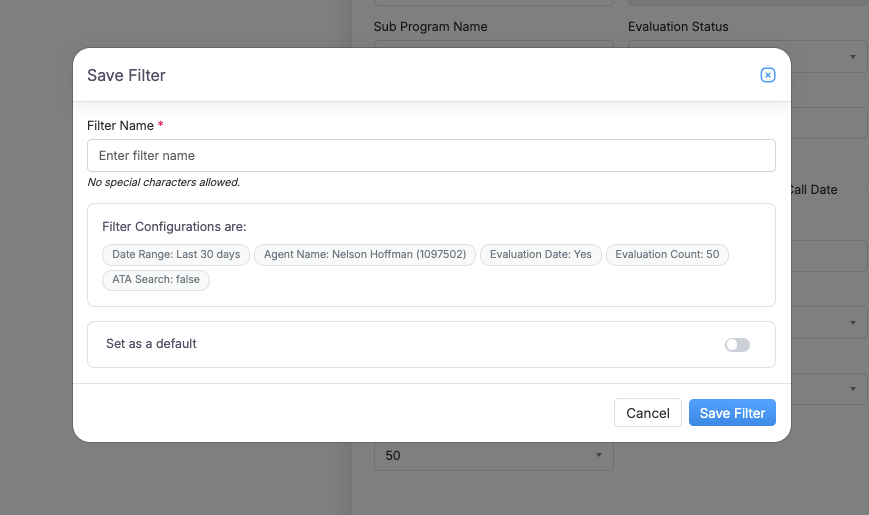
Click Save Filter to store the filter configuration.
Important Notes
- A filter name can contain up to 50 characters.
- Special characters are not allowed in the filter name.
- Each user can save up to 10 filters per module.
- If the limit is reached, you must delete an existing filter before creating a new one.
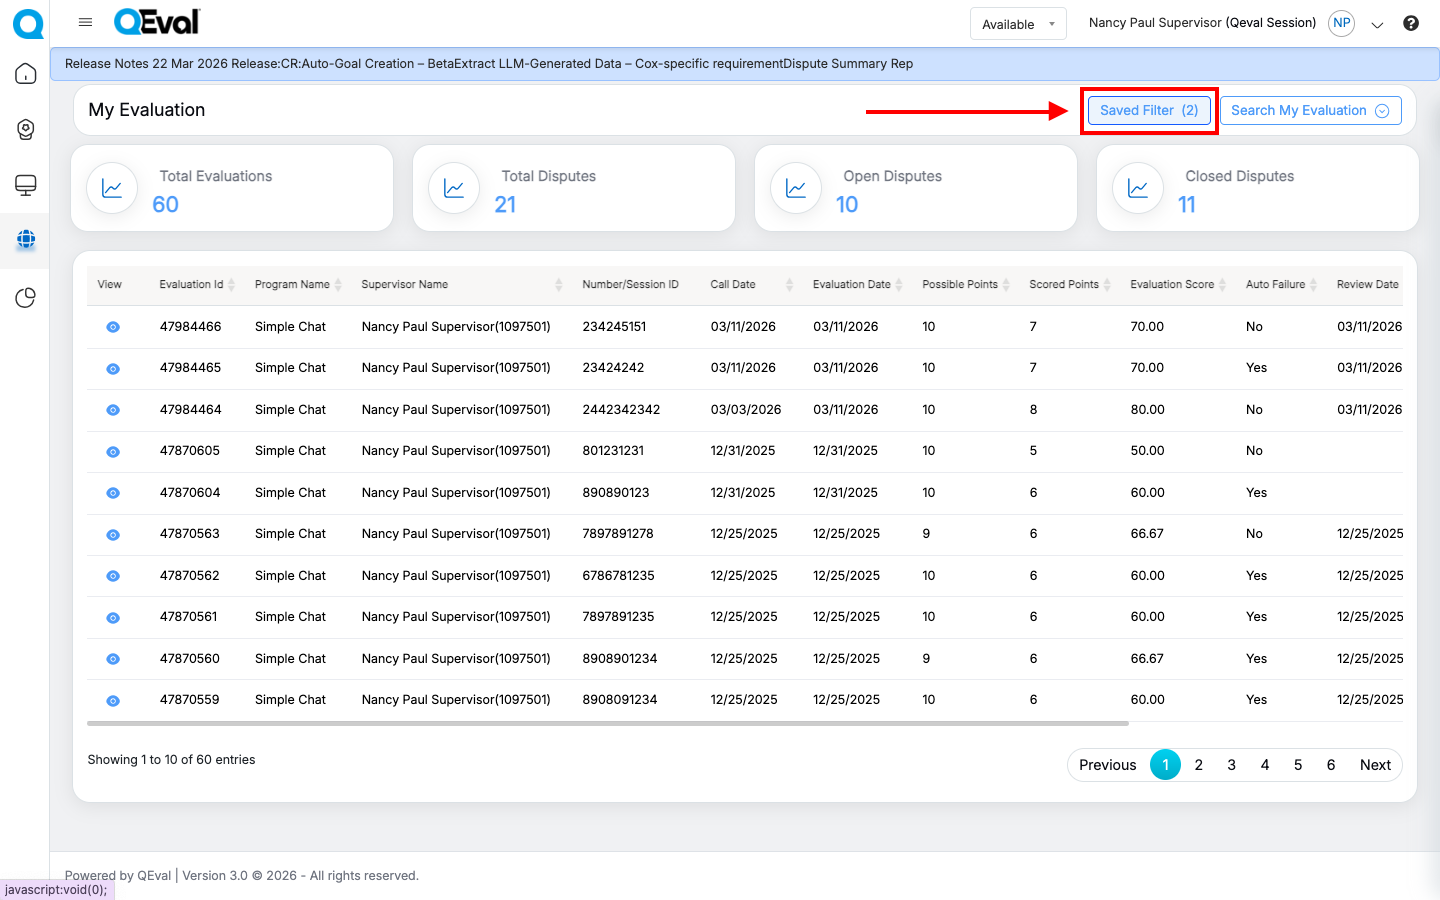
2. Viewing and Applying Saved Filters
Saved filters can be accessed from the Saved Filter option at the top of the page. The number shown in parentheses reflects the current count of saved filters for that module, with a maximum limit of 10.
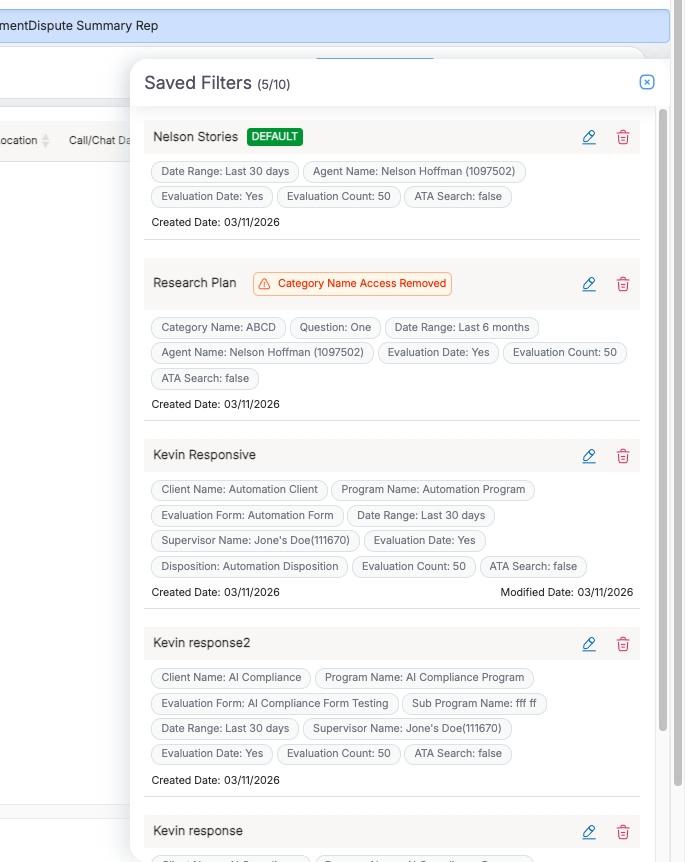
When you open the Saved Filters panel, you can:
- View all saved filters along with their filter criteria.
- See the creation date or last modified date.
- Click a filter to automatically apply the saved search conditions and refresh the results.
3. Managing Saved Filters
Edit Filter
- Click the Edit icon beside a saved filter.
- Modify the filter name or criteria.
- Click Update filter to save the changes.
Delete Filter
- Click the Delete icon next to the filter.
- Confirm the deletion to permanently remove the filter.
Default Filter
- One saved filter can be marked as the Default.
- The default filter is automatically applied when you open the module.
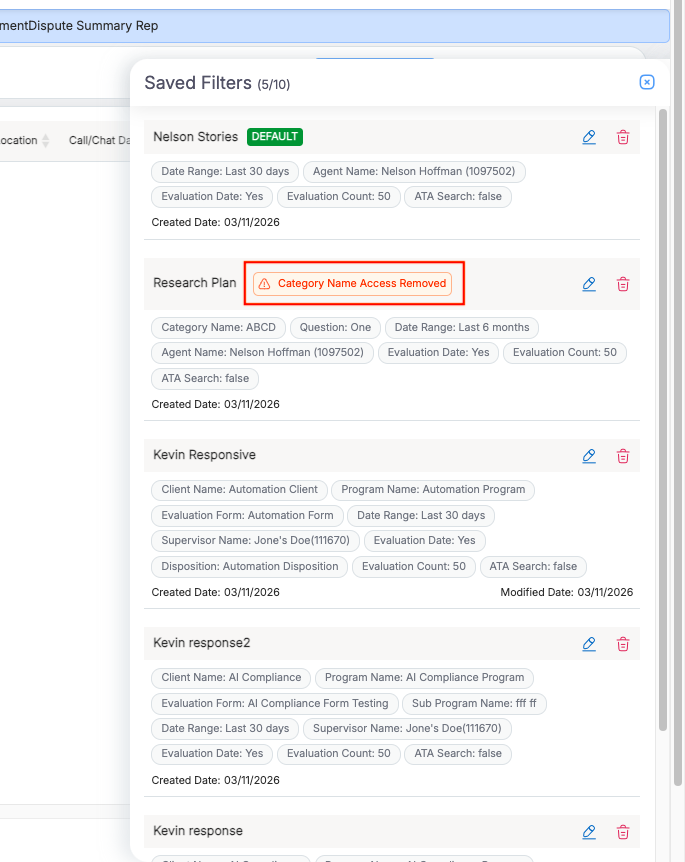
4. Access Validation
When applying a saved filter, the system verifies whether you still have access to the selected Client, Program, or Evaluation Form.
If access has been removed or an entity no longer exists, the system will display a message indicating the issue, such as:
- Client access removed
- Program access removed
- Evaluation form access removed
This helps ensure that saved filters only apply to valid and accessible data.
View Evaluation
Click on the View ![]() icon to view the complete evaluation form in the new browser tab.
icon to view the complete evaluation form in the new browser tab.
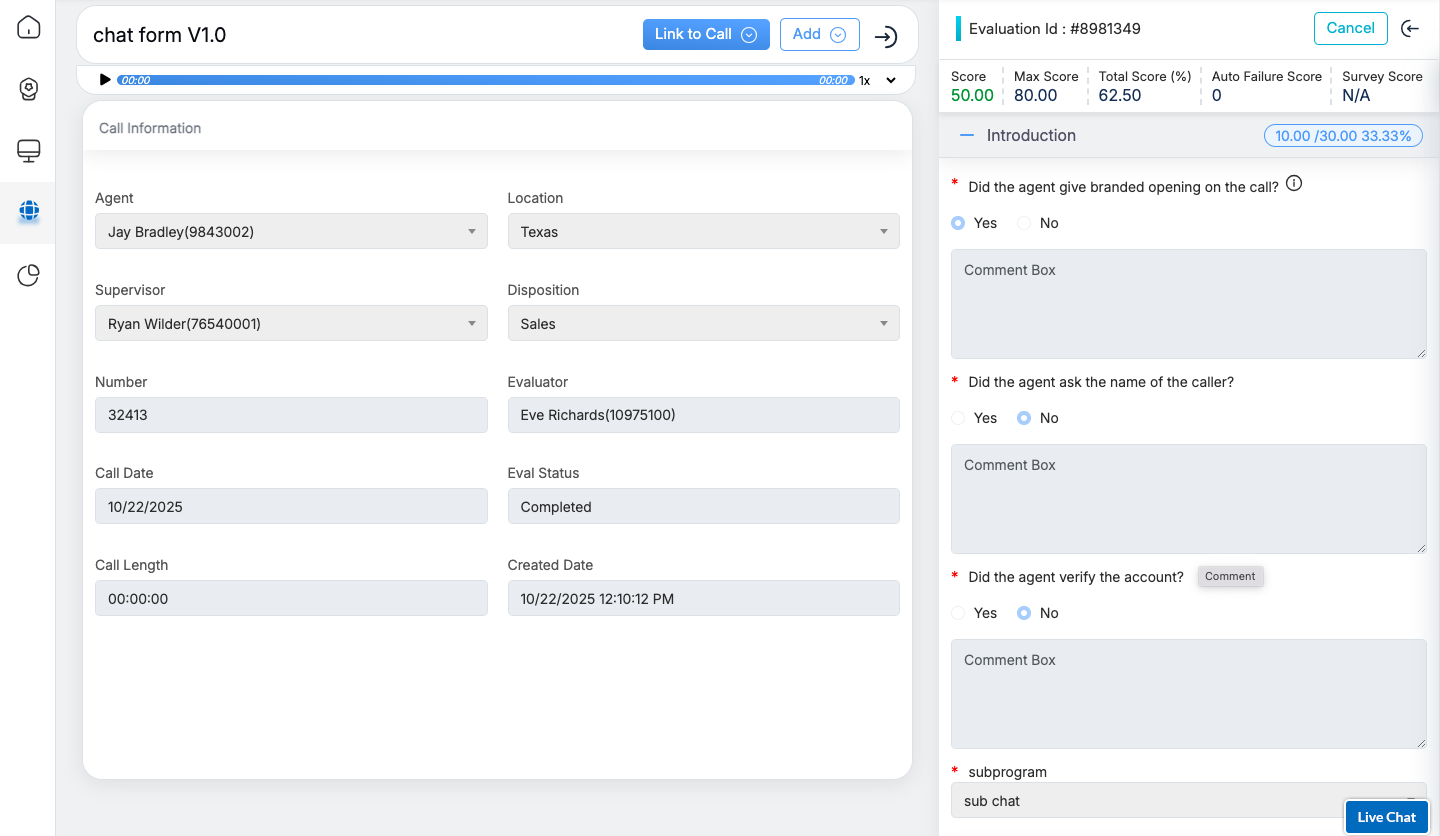
Agents and supervisors have the ability to review evaluation forms and raise disputes by navigating to the Review/Dispute Information section located at the end of the form. This section enables agents to provide their evaluation status and supervisors to address disputes. Once both agents and supervisors have submitted their inputs, the QA Supervisor can review the details and provide final feedback by either accepting or declining the dispute.
Let’s explore each view in detail.
Video