Login Logout Report displays the login/logout records of the user.
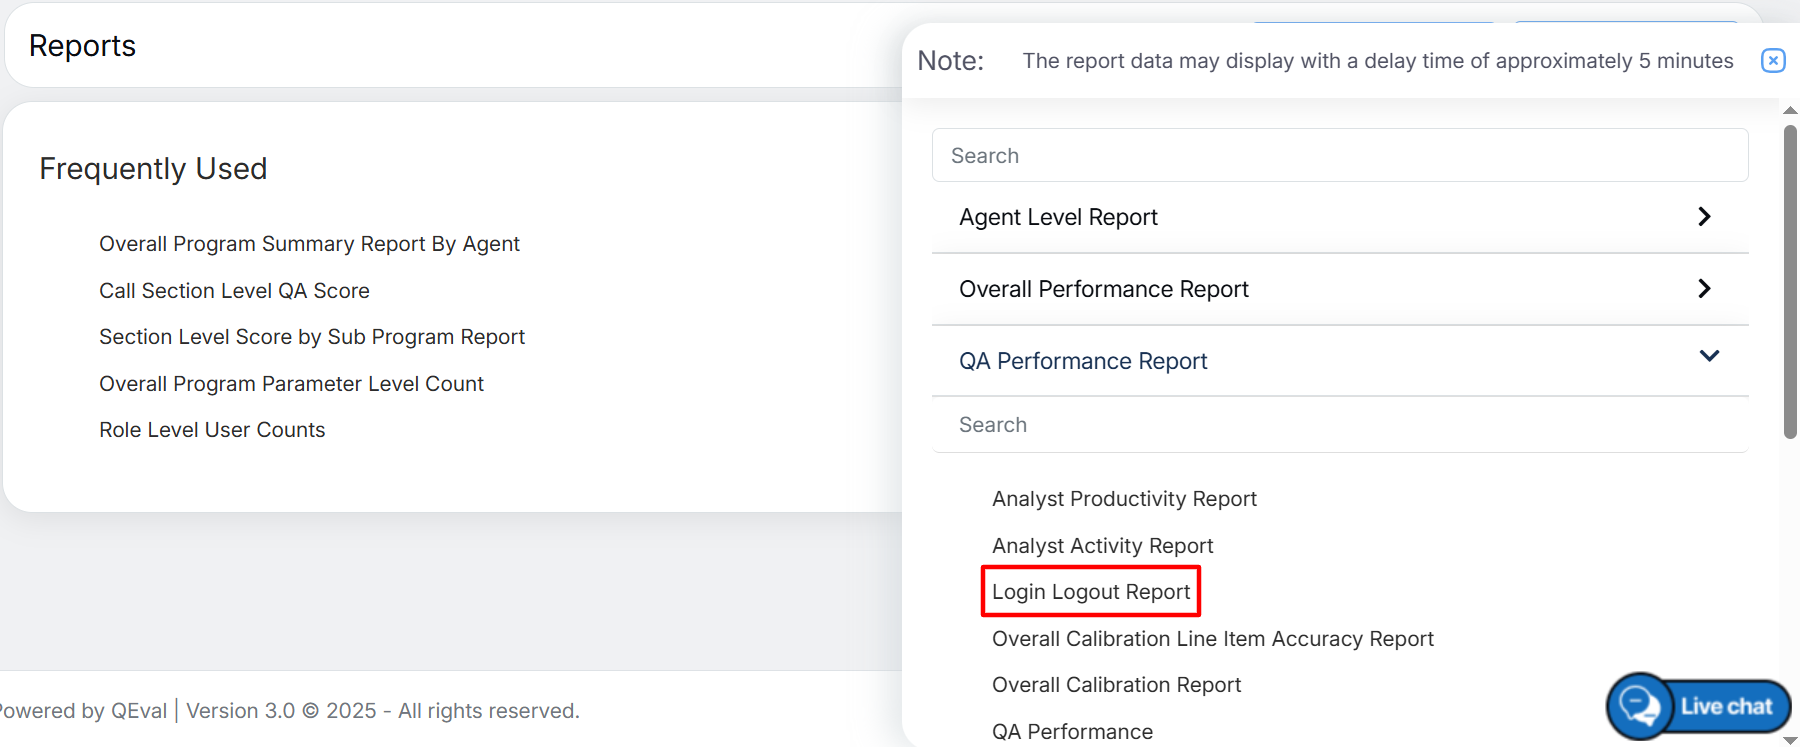
To view this report, select Reports > Report > QA Performance Report > Login Logout Report.
Login Logout Report
The following page will be displayed.
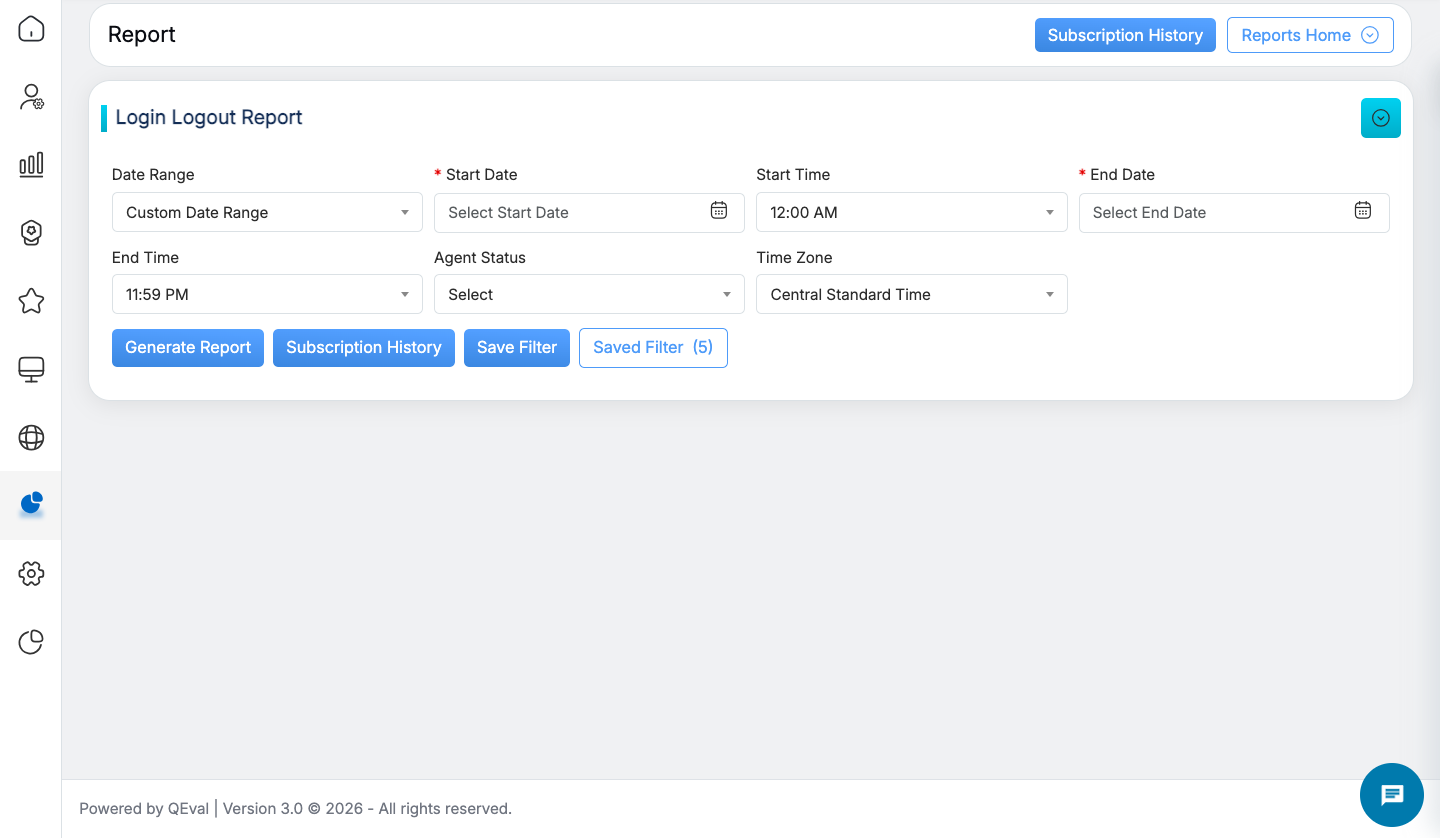
Login Logout Report
|
Screen Elements |
Description |
|
Date Range |
User can define a date range by either selecting from predefined timeframes in the dropdown or specifying a custom range based on the need. Available filters include Today, Last 7 Days, Last 10 Days, Last 30 Days, Last 12 Weeks, Last 6 Months, Week to Date, Month to Date, Previous Day, Previous Week, Previous Month, and Custom Date Range. Select the option that best suits your requirements. |
|
Start Date |
If user selects the custom date range then users would be able to select the Start date, Start time, End date and End time as per their need. |
|
Start Time |
To view the data of a specific time range, select the required start time. |
|
End Date |
Select the end date from the date picker option. |
|
End Time |
Select the end time. |
|
Agent Status |
Select the required agent status from the dropdown list displayed: Active, Inactive, or All as needed for report data filtering. |
|
Time Zone |
Select the time zone from the dropdown list with the options:
|
Once the search criteria are set, then, click on the ![]() button.
button.
The report for the specified will be displayed as shown below:
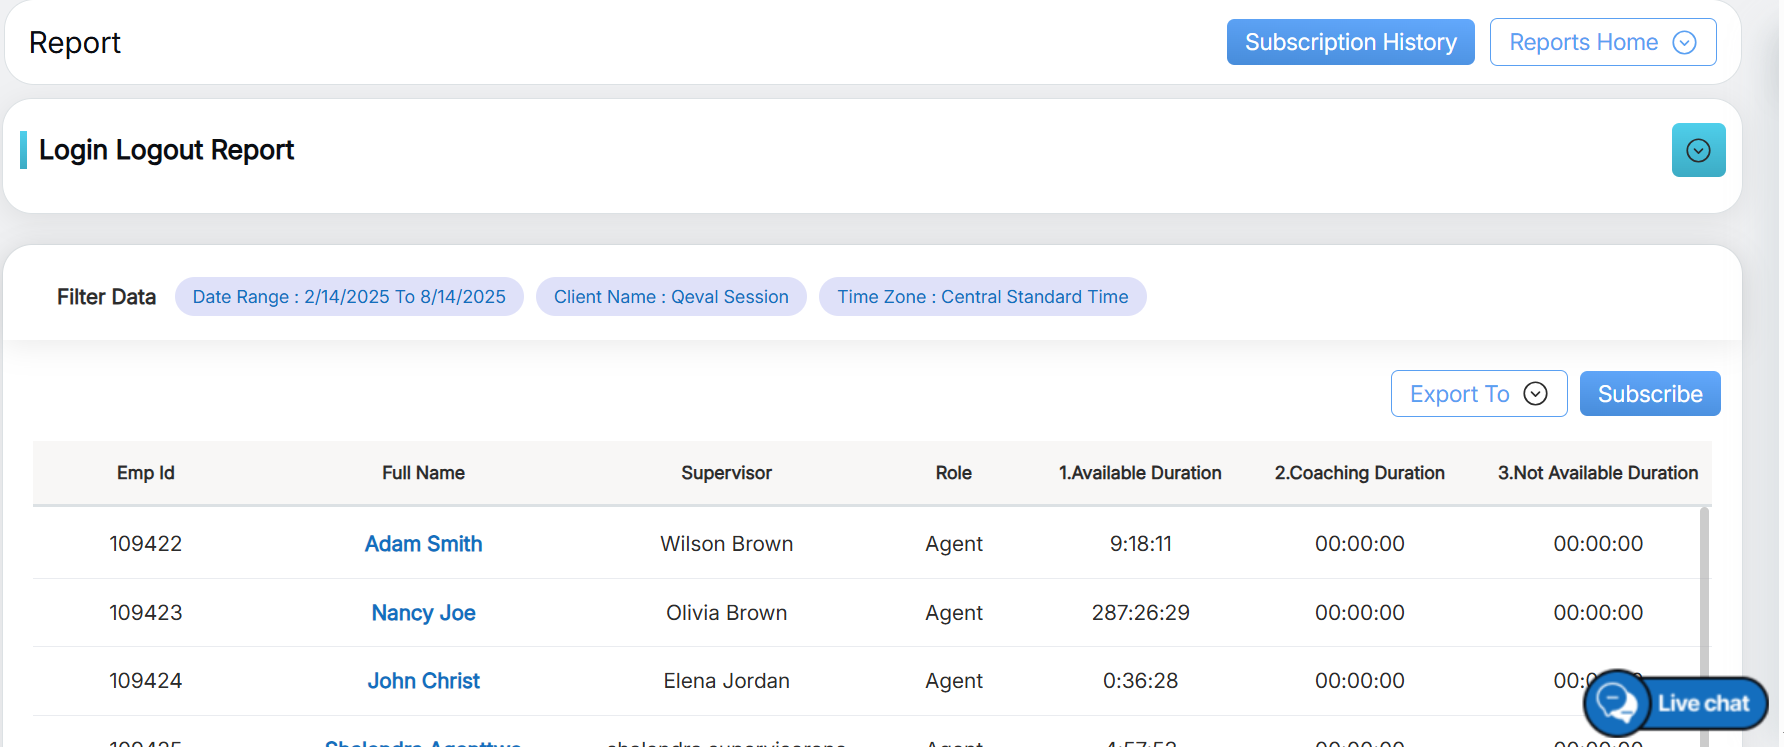
Generated Report
The above report displays the total duration of the login-logout timings of the agents.
The generated report also includes any custom fields configured in User Details Configuration, which will automatically appear as additional columns based on the active setup.
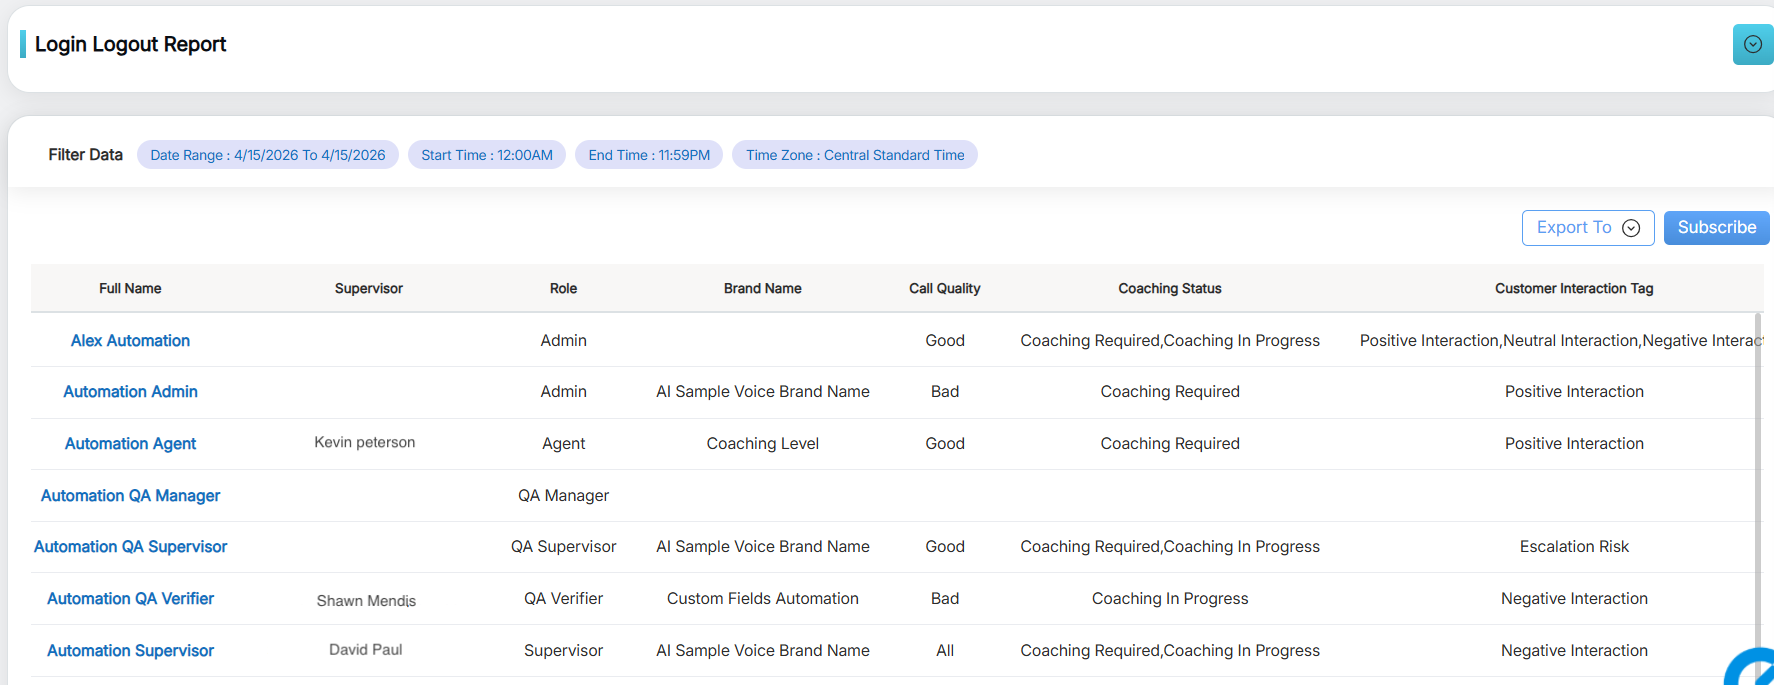
A user can also check the same report of the individual agent. This could be done by clicking on the agent name and a separate report of the agent will be generated as shown:
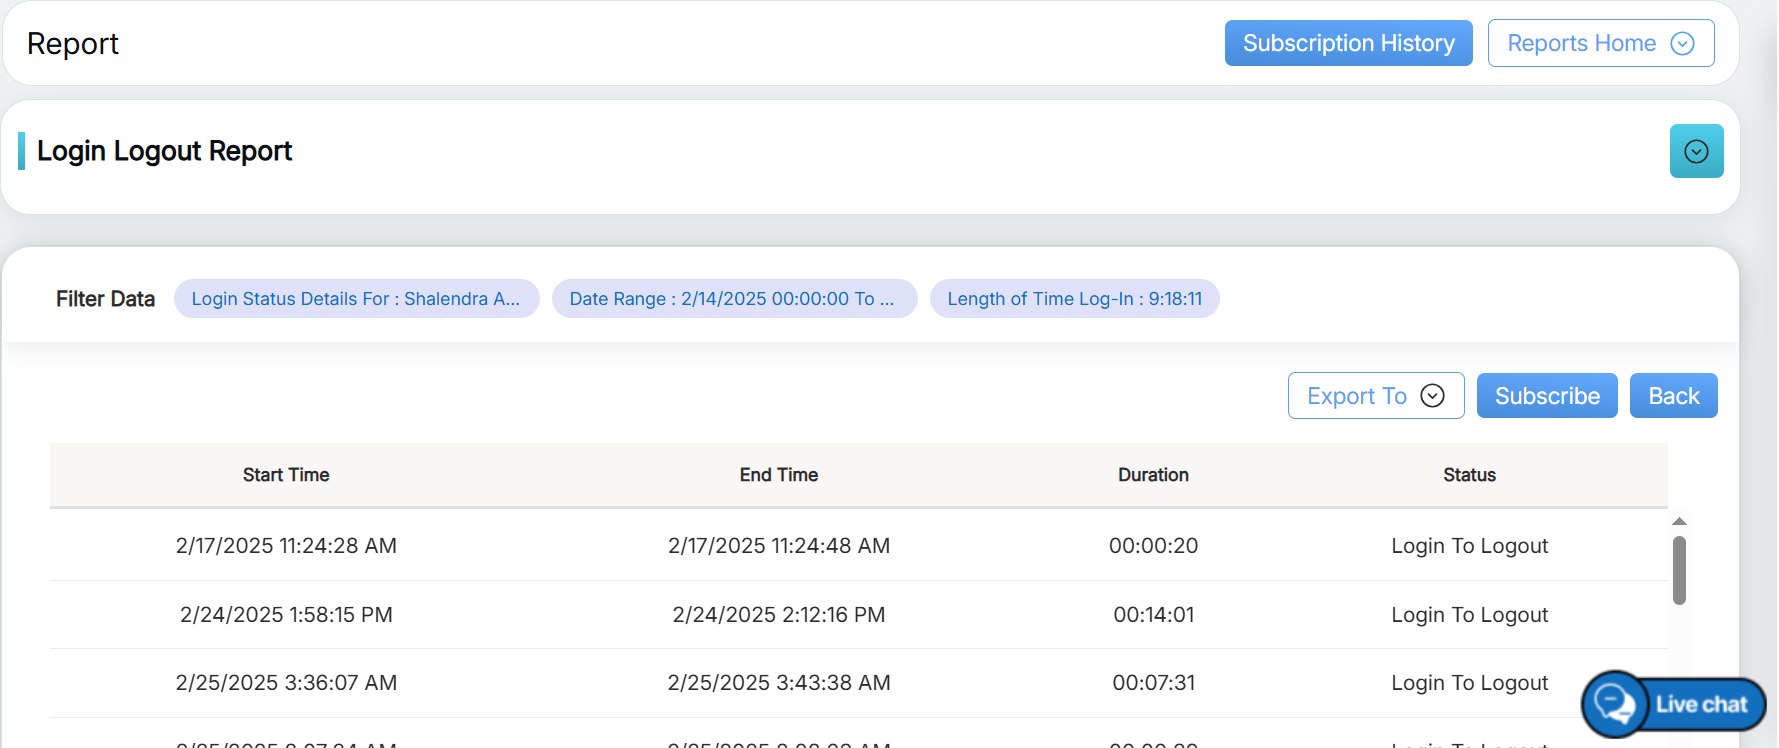
Login Logout Timings
Video