This module will allow the user to create a group to access the program. The existing users can be given access to the programs under the newly created or already existing group.
The module has been specifically created to allow program access to the group of users rather than providing access to the individual users at a time.
To access this functionality, select Manage > Program Configuration > Program Group, and the Manage Program Group page will be displayed as shown below:
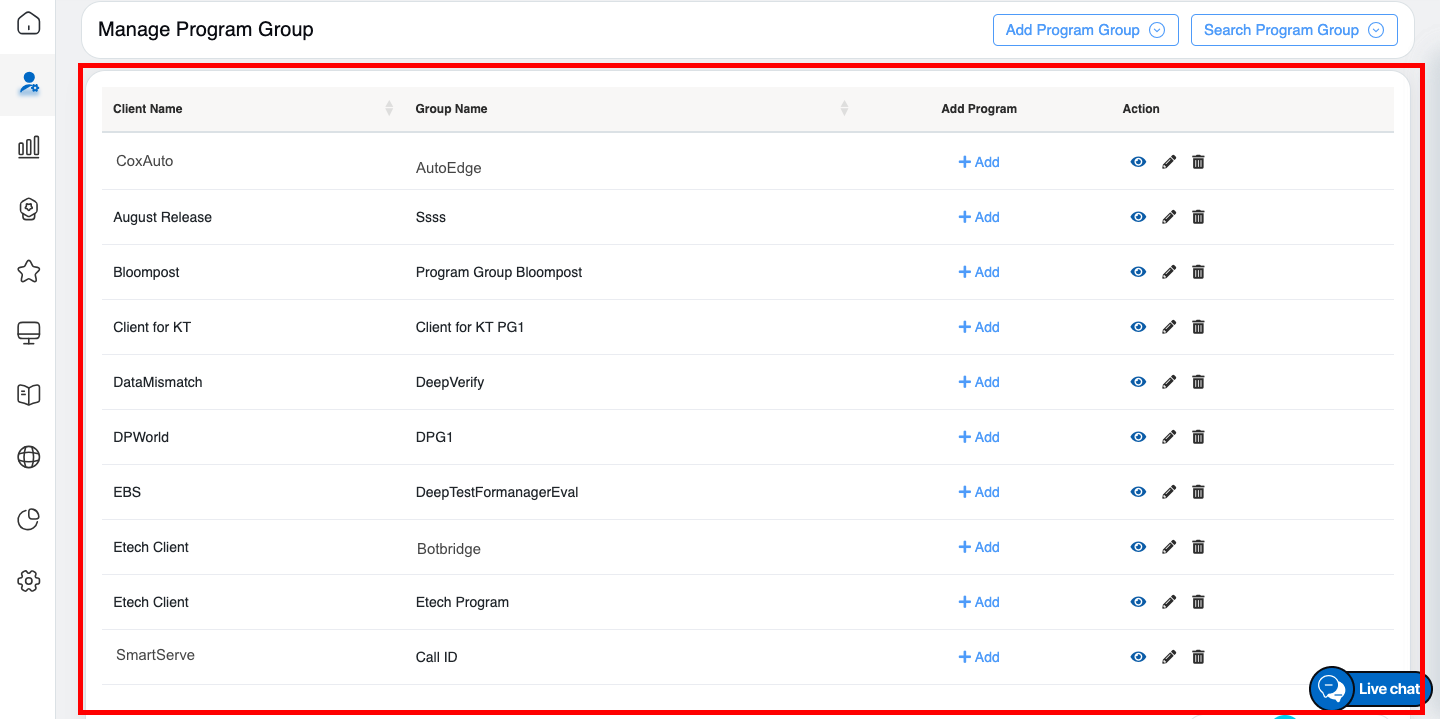
Manage Program Group Tab
This page displays the list of all the program groups that are already created.
Add Program Group
An admin can add Program Groups for a particular location in a QEval system. The page also allows an admin to provide certain functionalities to specific or all the programs.
To add a new program follow the steps given below:
- To add a new Program Group, click on Add Program Group button.
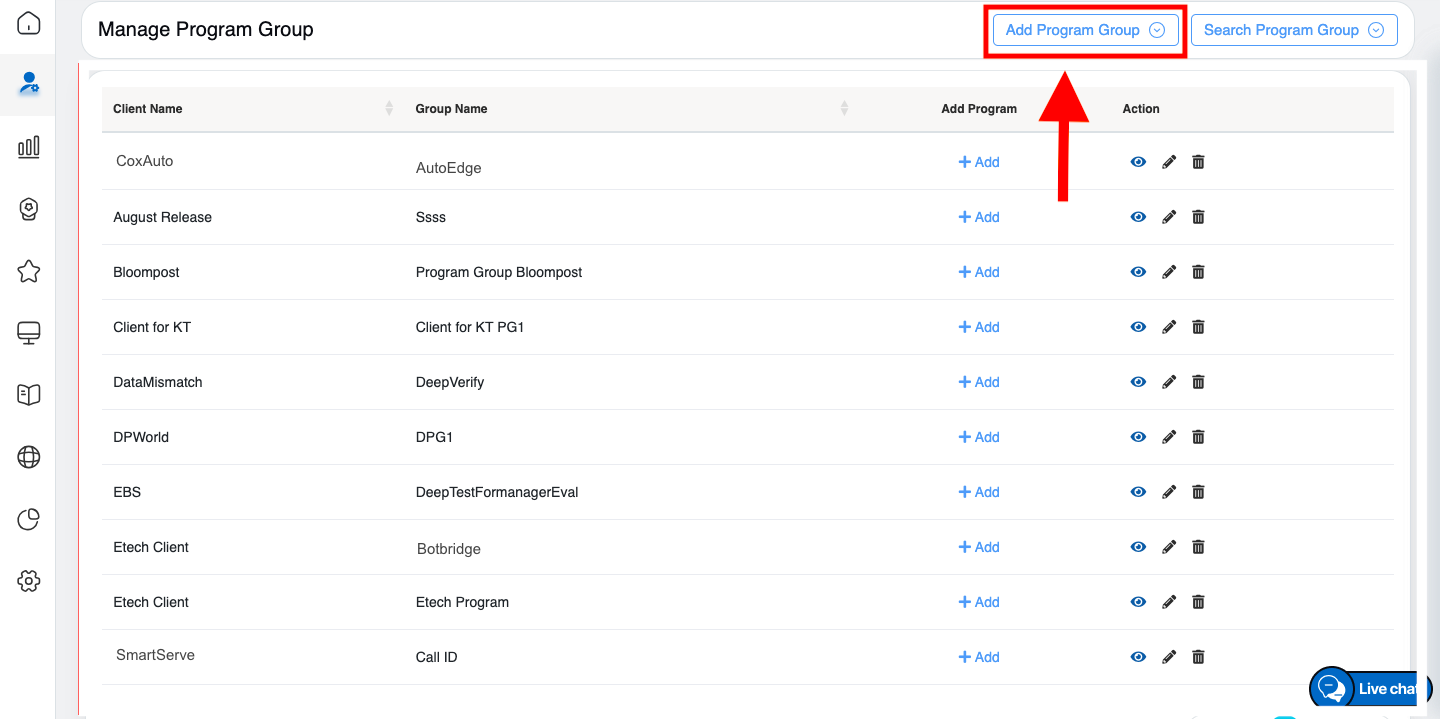
Add Program Group button
The following screen appears.

Add Program Group Tab
2. Provide the following details.
|
Screen Elements |
Description |
|
Client Name |
Select the client name from the dropdown list. |
|
Group Name |
Enter the name of the new Program Group. |
3. Click Submit ![]() button to add the Program Group, or click
button to add the Program Group, or click ![]() button to reset the fields.
button to reset the fields.
The newly added groups will be displayed on the Manage Program Group page as displayed on the following screen:
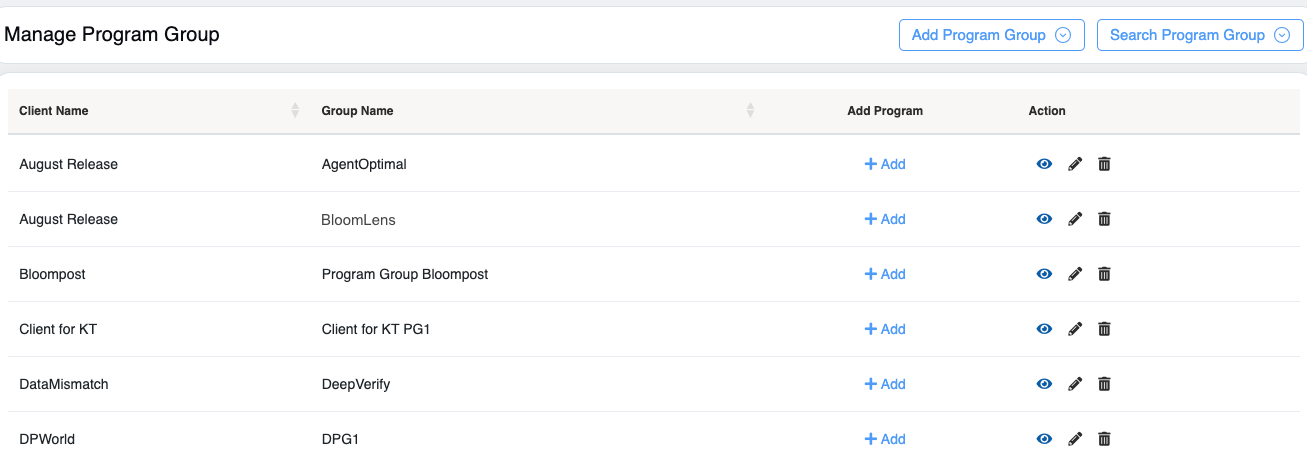
Manage Program Group Tab
Search Program Group
Search Program Group is designed to search the existing and newly created groups. The page also allows an admin to edit or delete the details for the program groups.
Click on the Search Program Group button.
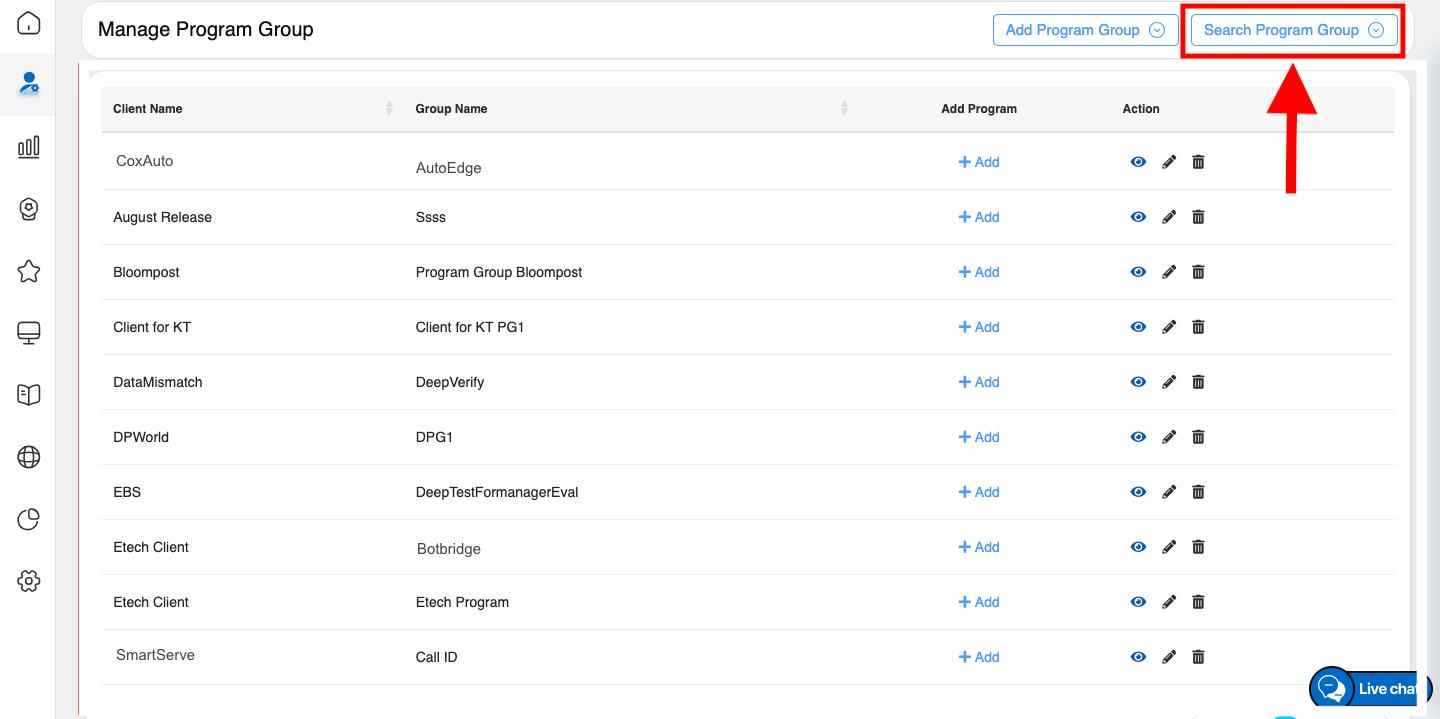
Search Program Group button
Then the following screen appears.
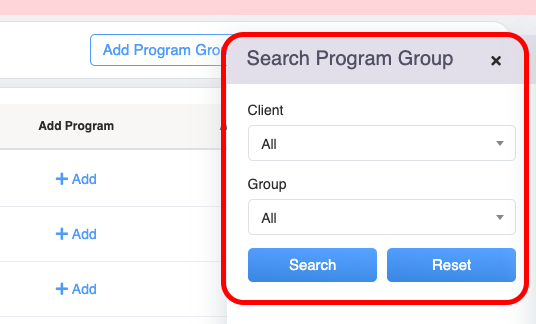
Search Program Group Tab
To search any group, select the Client from the dropdown list. The groups can be searched by selecting the name of the group from the Group field and then clicking on the ![]() button. Click
button. Click ![]() button to reset the fields.
button to reset the fields.
Based on the applied search filter, all the program groups will be displayed on the Manage Program Group page as shown on the screen below:
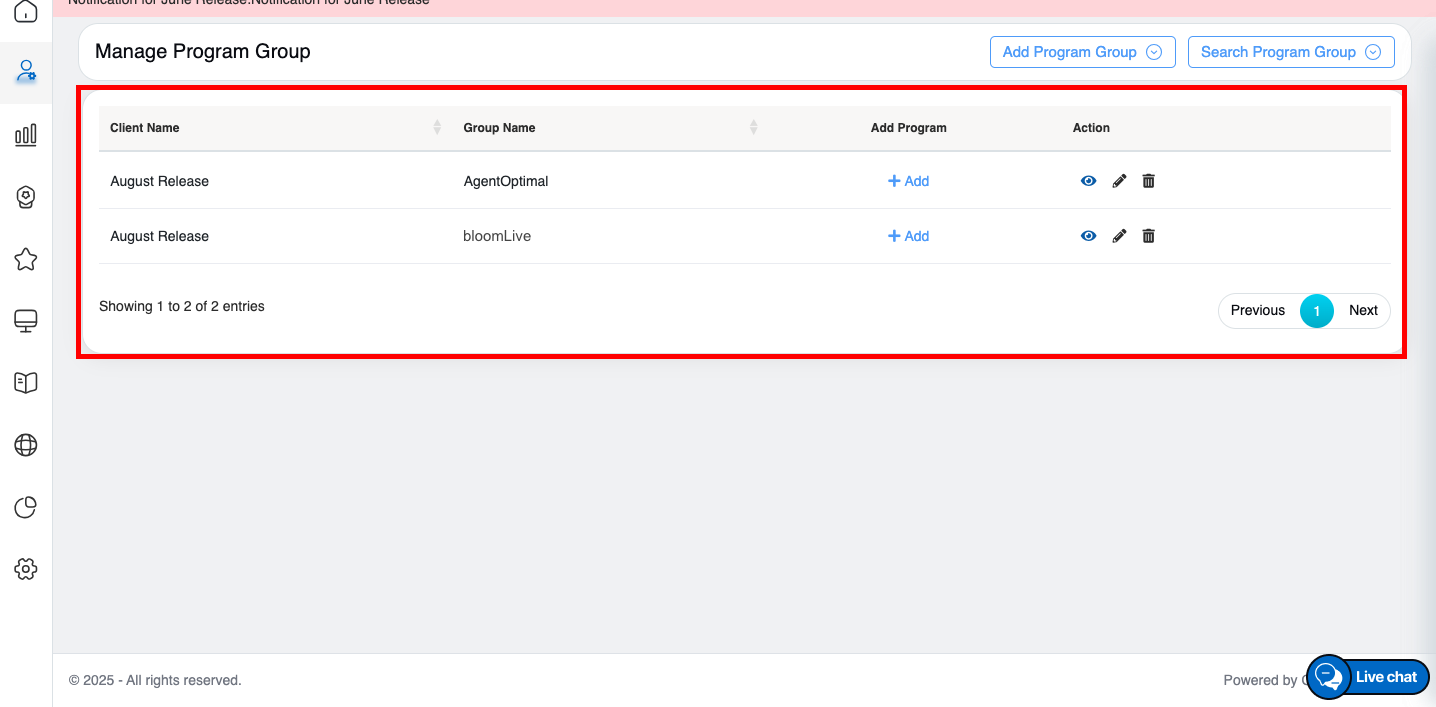
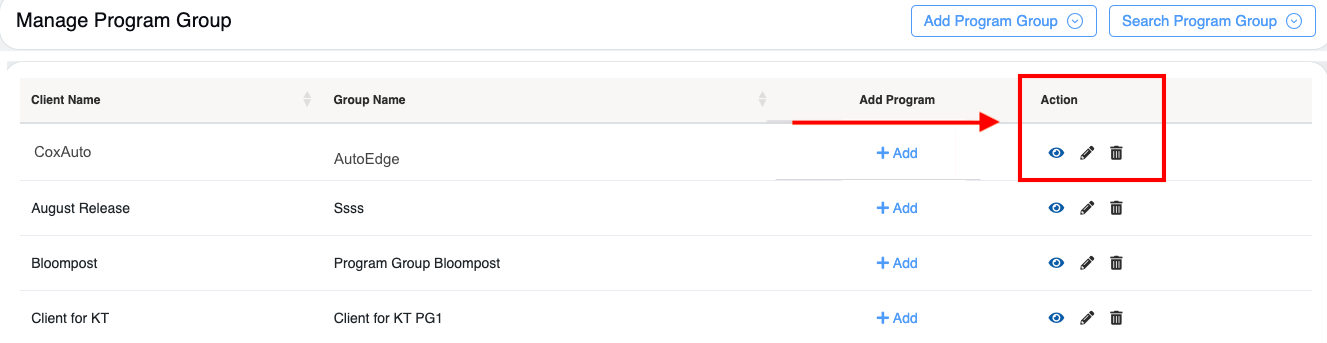
Manage Program Group Tab
The following details will be displayed:
- Client Name: Displays the name of the client.
- Group Name: Displays the name of the program group.
- Add Program: Enables assigning a program to the group.
- Action: Three action icons will be displayed – View, Edit and Delete.
Add Program
To assign program(s) to the existing Program Group for a selected client, click on the Add Program link displayed under the Add Program column as shown below:
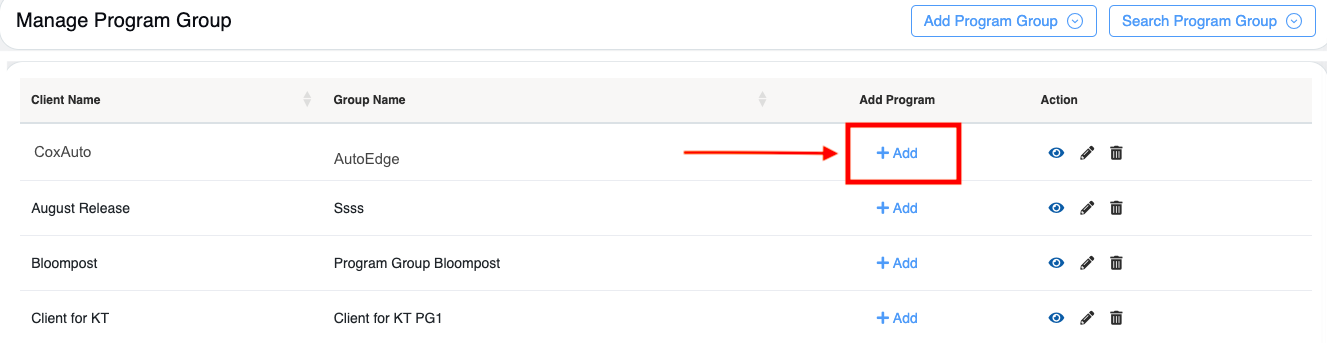
Add Program button
Add Program window will be displayed as shown below:
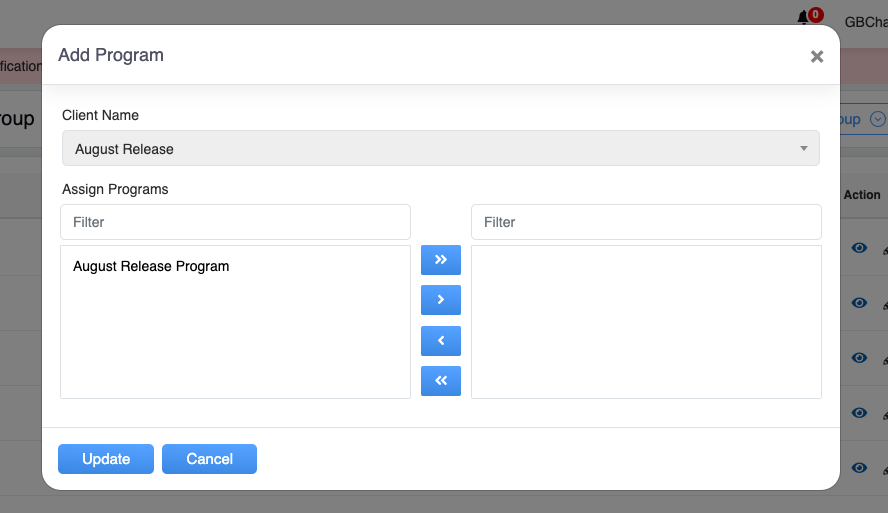
Add Program tab
On this window, configure the following fields:
- Client Name: The client name will be displayed.
- Assign Programs: Select the required program(s) from the left-hand side box which will display the list of all the programs created for the selected Client.
Admin can also search the programs by entering the program’s name in the Filter field.
Once the program(s) is selected, click on ![]() button, and the selected program(s) will be moved to the right-hand side box.
button, and the selected program(s) will be moved to the right-hand side box.
To move all the programs to the right-hand side box at once, click on ![]() button.
button.
To remove a few programs from the right-hand side box and move them back to the left-hand side box, click on ![]() button.
button.
To move all the programs to the left-hand side box at once, click on ![]() button.
button.
Once, the programs are assigned, click on the Update button to add.
Action Buttons:
Action button
1. View Assigned Programs
Click on the View ![]() icon displayed under the Action column to view the particular program group and the Program List window will be displayed as shown below:
icon displayed under the Action column to view the particular program group and the Program List window will be displayed as shown below:
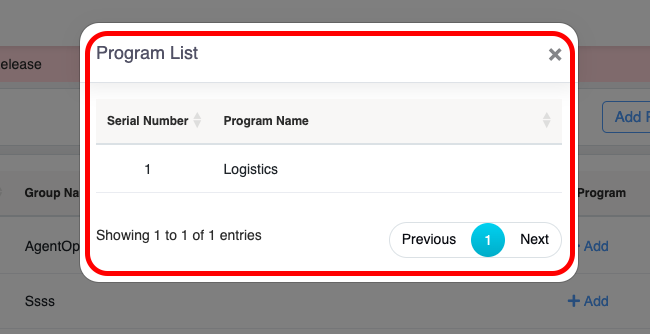
View Program list
The program(s) assigned to the group will be displayed in this window.
To close this window, click on ![]() icon.
icon.
2. Edit Program Group
Click on the Edit ![]() icon displayed under the Action column to edit a particular program group and the Program Group window will be displayed as shown below:
icon displayed under the Action column to edit a particular program group and the Program Group window will be displayed as shown below:
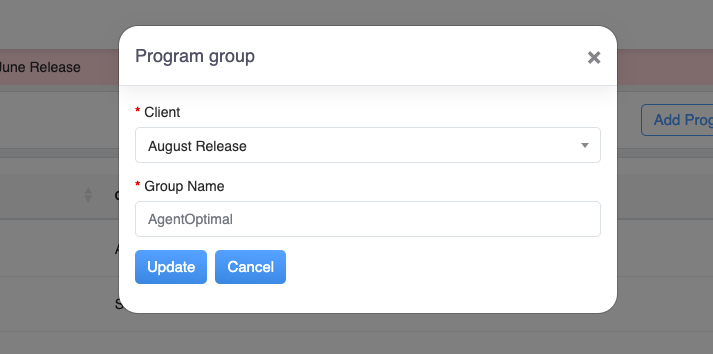
Edit Program Group Tab
From the Manage Program Group, click on the Delete ![]() icon to delete the Program Group and the following confirmatory message as shown below:
icon to delete the Program Group and the following confirmatory message as shown below:
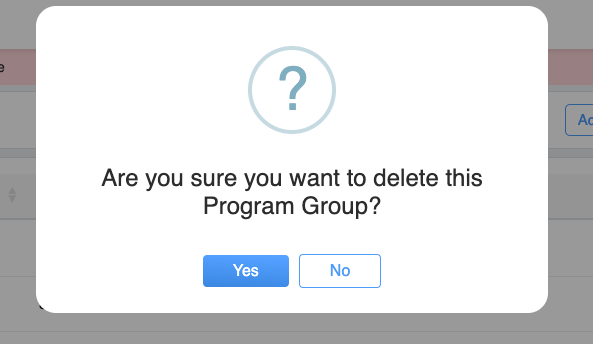
Click ![]() button to continue with the deletion of the program group or click
button to continue with the deletion of the program group or click ![]() button to cancel the process.
button to cancel the process.
Video