The Chat feature allows the users to chat in real-time with reference to the associated evaluations. This functionality includes certain steps along with the conditions to get enabled in the system.
Step 1: Activating a Chat Environment
A chat environment within the QEval system is enabled by the Admin.
For Client
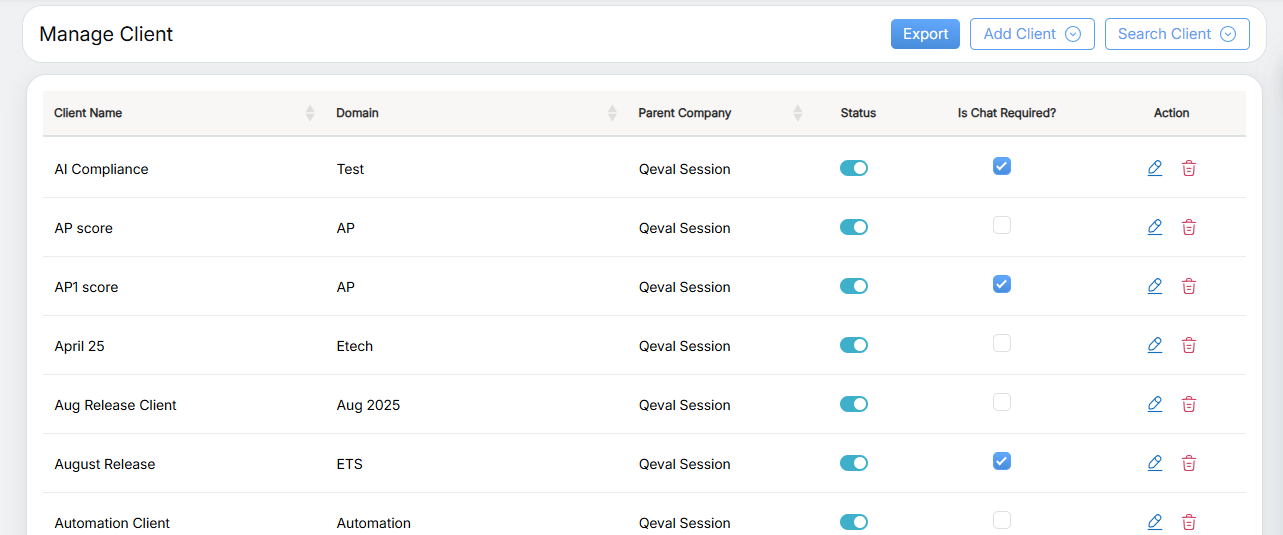
Select Manage > Client and the Manage Client page will be displayed as shown below:
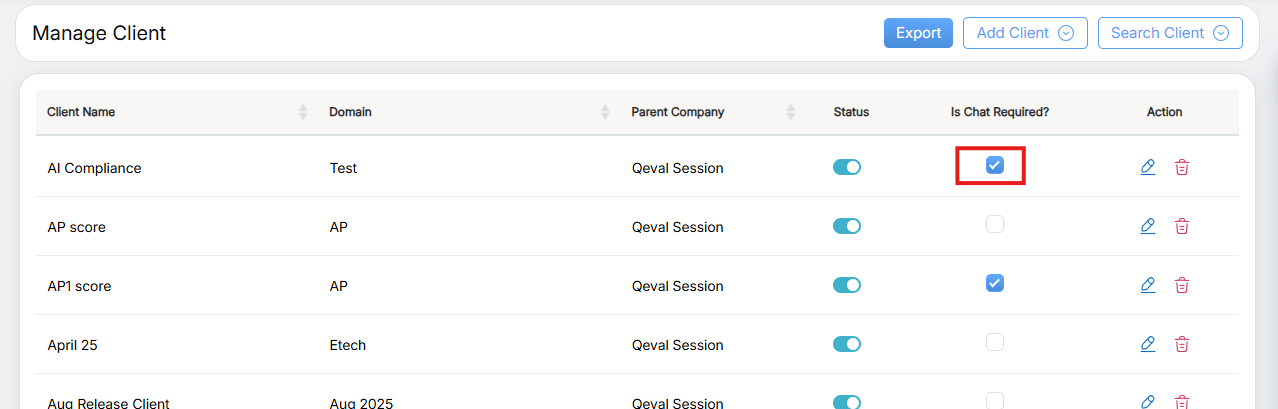
To enable the chat functionality for any existing client, one can directly enable it by selecting the Is Chat Required? checkbox as shown in the below screen:
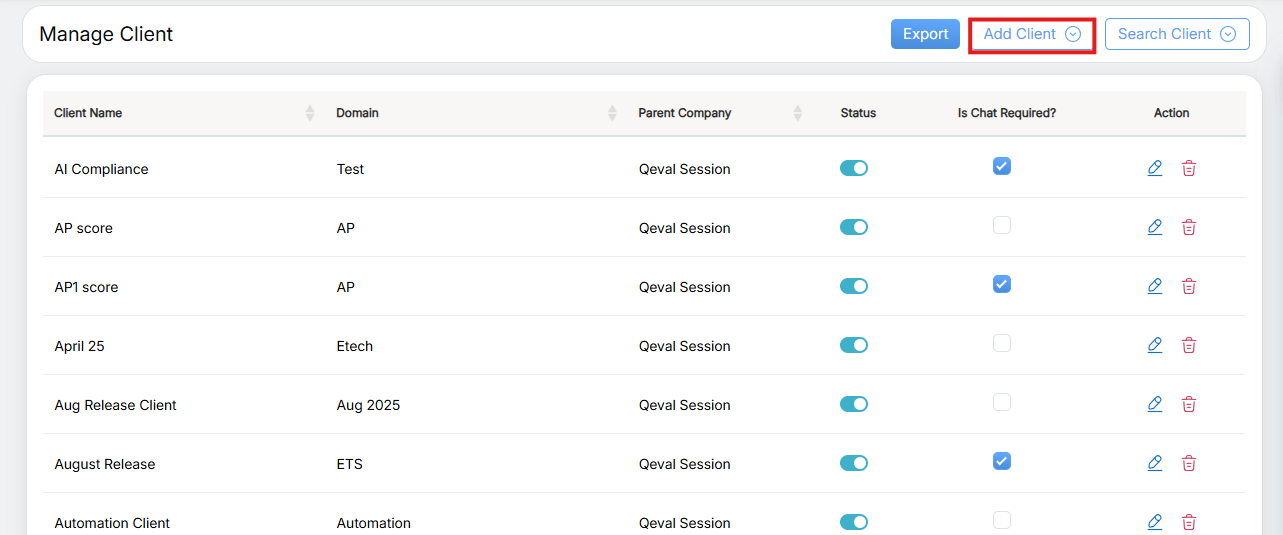
To enable the chat functionality for any new client, click on the Add Client button to add a client.
The following screen will be displayed from where one can select Is Chat Required? checkbox:
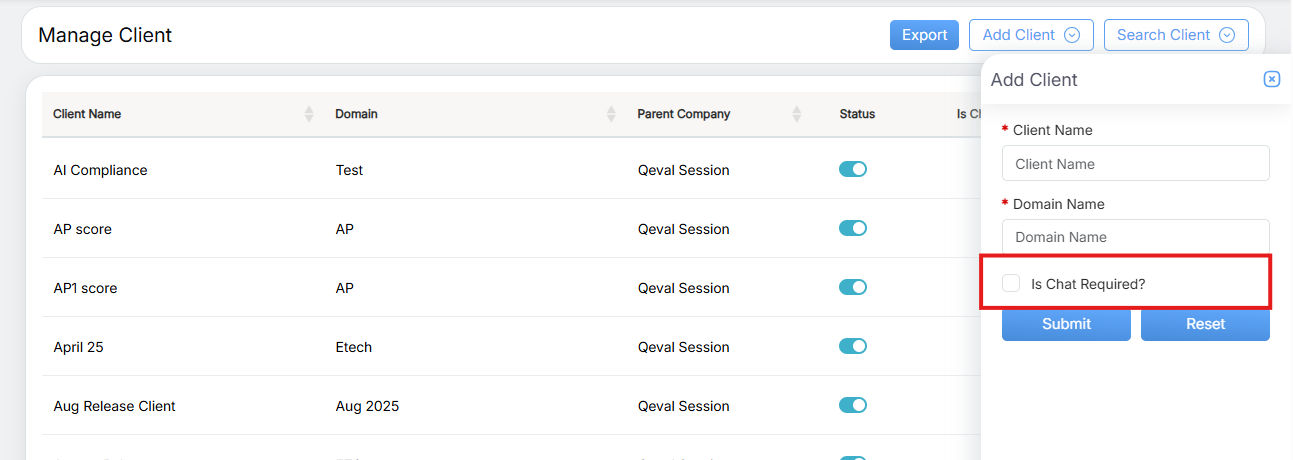
Click on the Submit button to add the client.
For Program
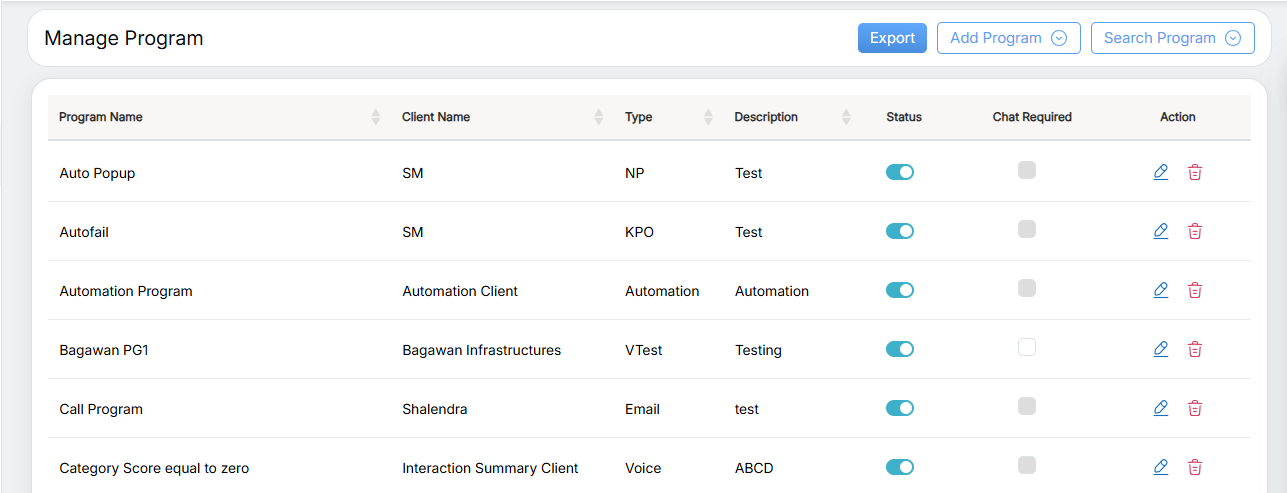
Select the Manage > Program Configuration > Program and the Manage Program page will be displayed as shown below:
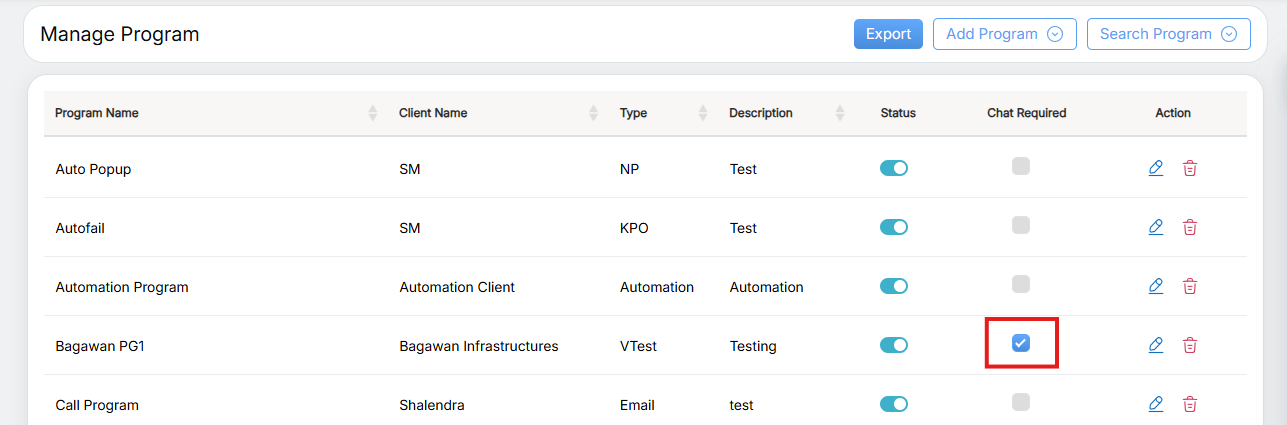
To enable the chat functionality for any existing program, one can directly enable it by selecting the Is Chat Required? checkbox as shown in the below screen:
For User:
Select Manage > User and the system will redirect to the following console:
The Manage Users page will be displayed as shown below:
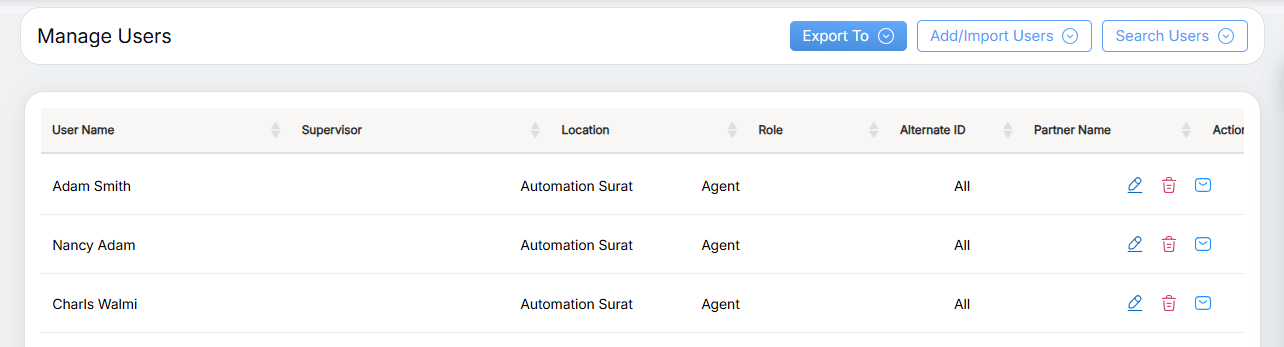
This page displays the list of all the users that are already created with different user roles.
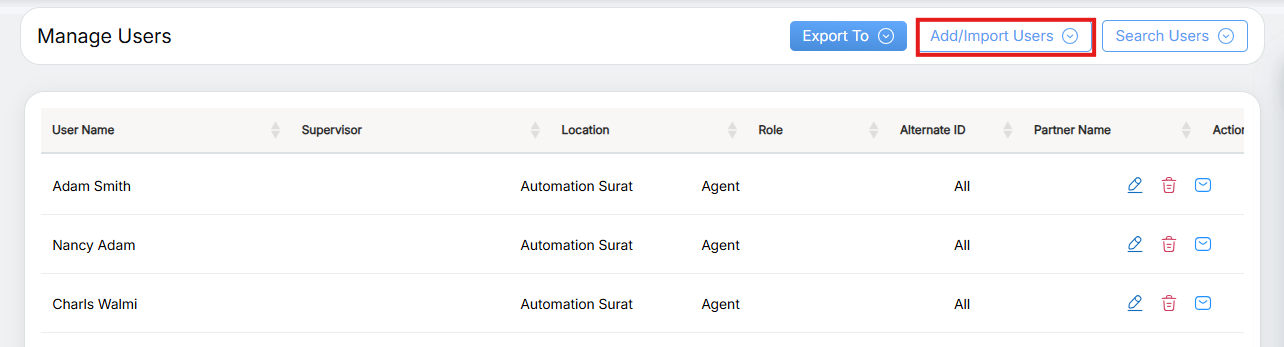
To add new users, click on Add/Import Users button.
Add/Import Users page will be displayed as shown below:
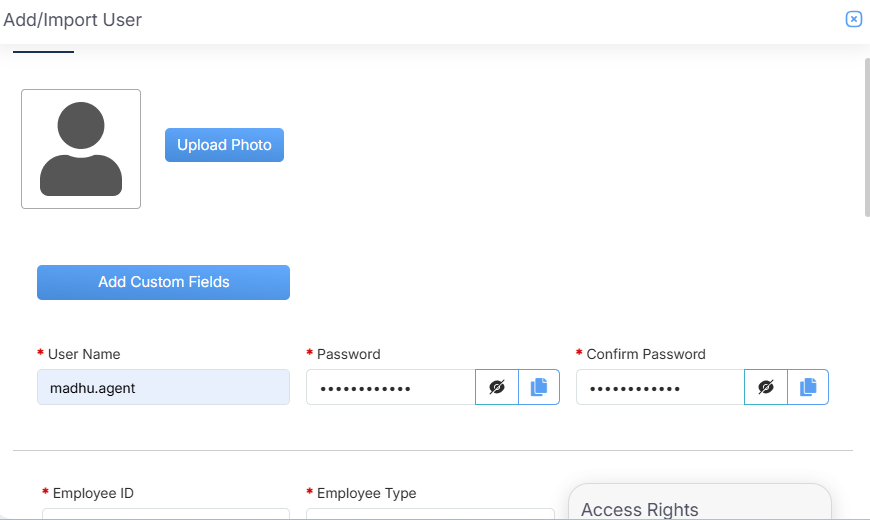
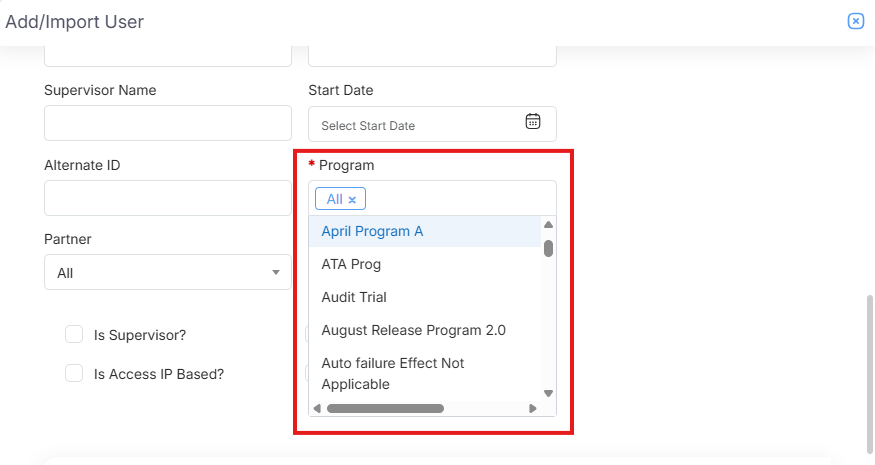
Enter all the details in the fields and select the Program Name(s) enabled with chat functionality as shown below:
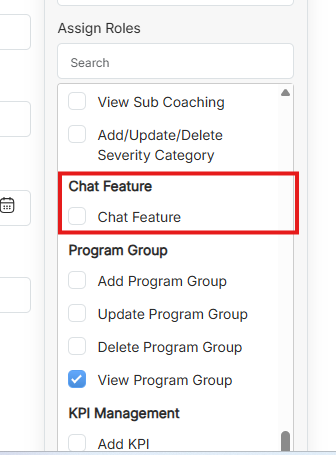
Under the Access Rights section, select the Role of the user to restrict or allow access rights. Based on the selected Role, under the Assign Roles section, related rights are displayed. Admin can provide more rights by selecting the checkbox of the related actions for each module.
From the Assign Roles section, select the Chat Feature checkbox option as shown below:
Click Submit button when all the entries are done.
Notes
- A chat feature will only work if a client, its program, and the user under that program have been provided with chat access.
- Any user of the system can be provided with chat access.
Step 2: Using A Chat Feature Within The System
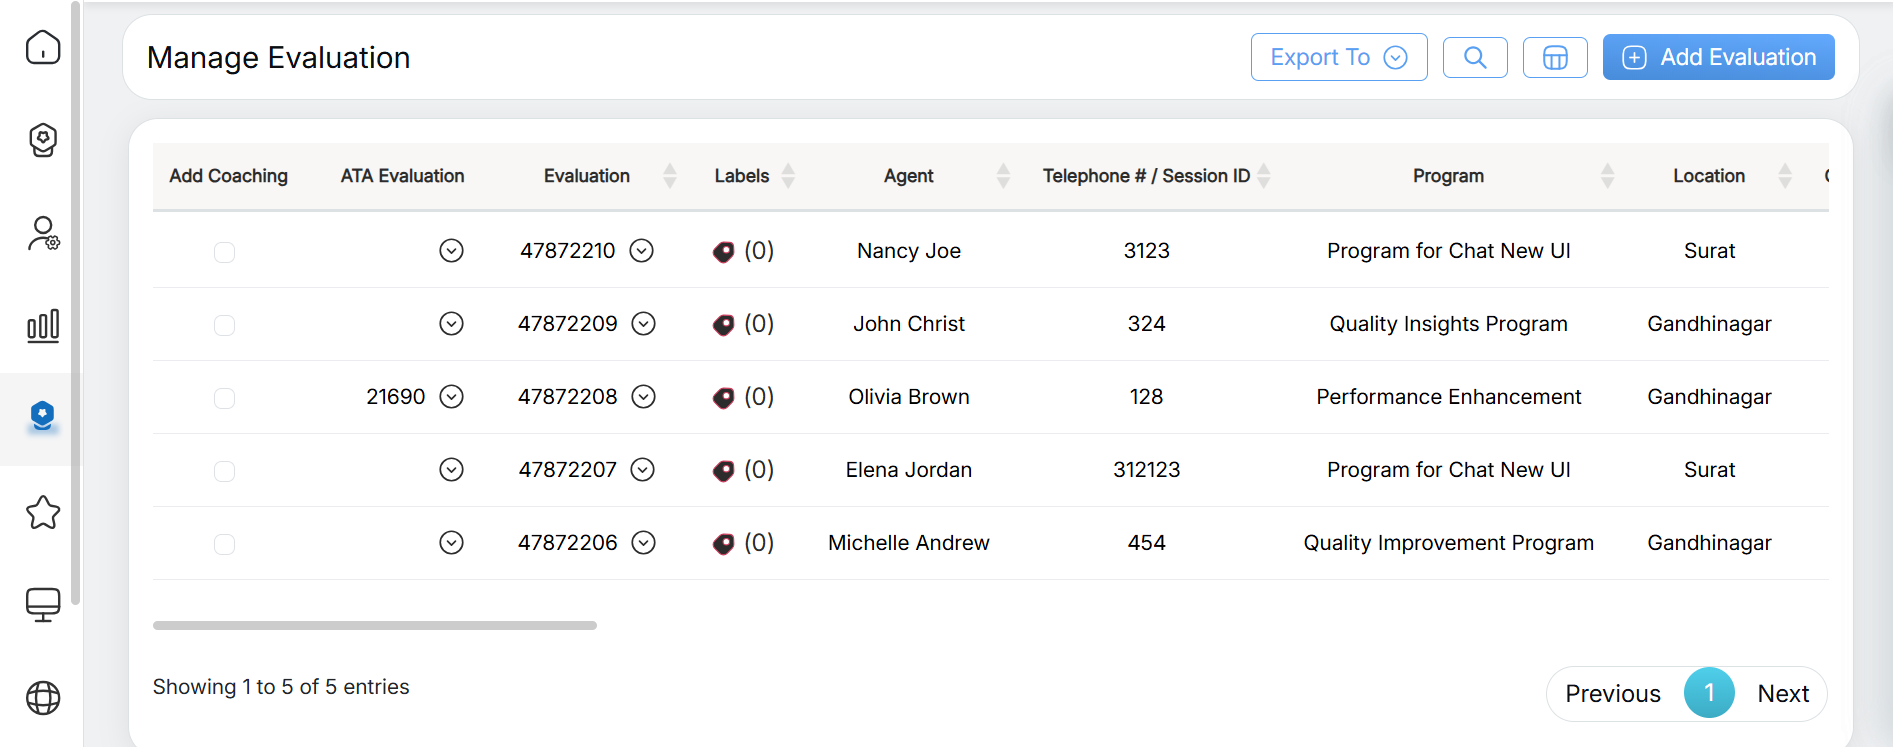
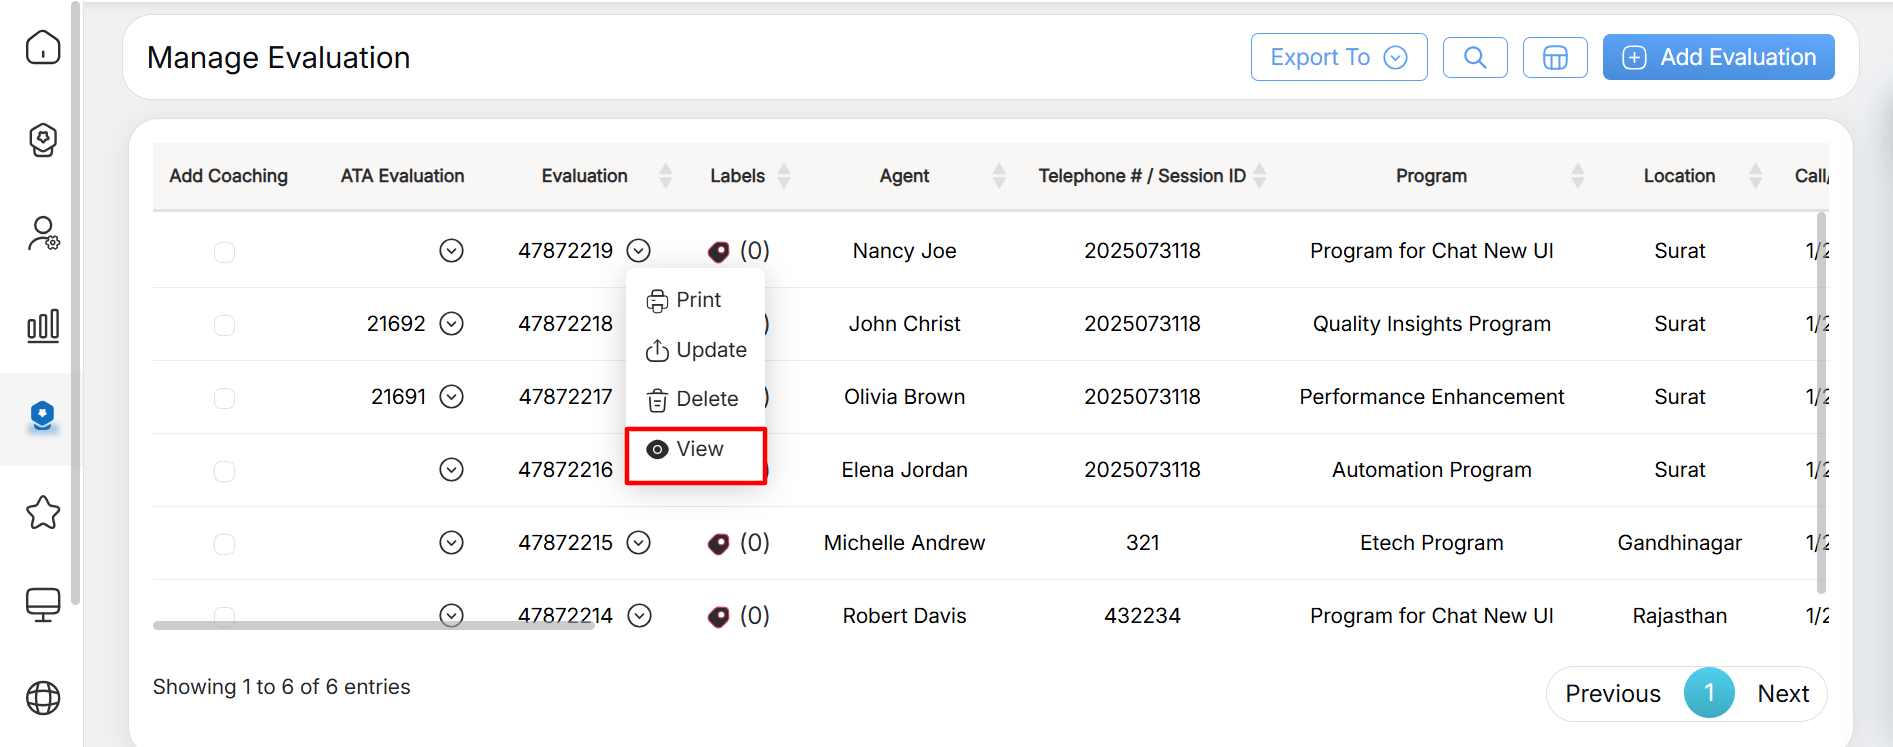
To initiate a new chat within the system, a user needs to search for any specific evaluation from Evaluation/ATA > Search Evaluation and the specific evaluations will be displayed:
One can print update, delete, and view evaluations by clicking on the ![]() displayed under the Evaluation column beside the Evaluation ID. Select the View option.
displayed under the Evaluation column beside the Evaluation ID. Select the View option.
The user will be redirected to the submitted evaluation console as shown below:
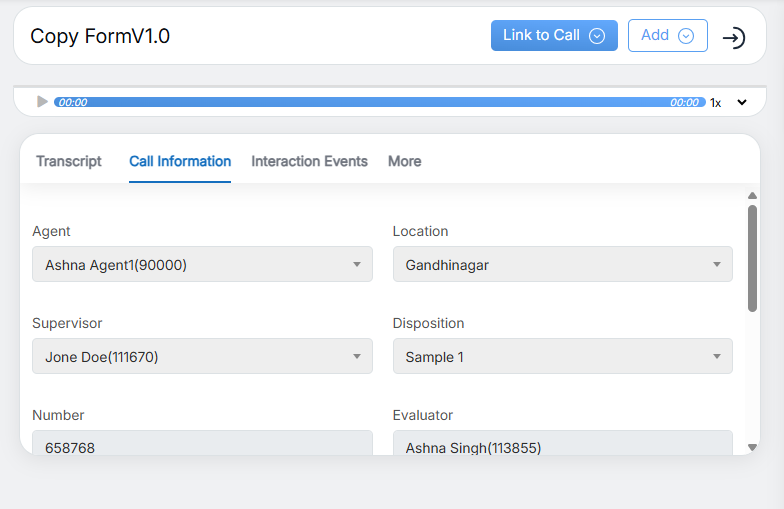
Scroll down in the same console to get the chat feature environment in the system:

A user supervisor or other role except an agent role will have two chat modes in their console. These are shown highlighted in the below screen:

Reply: When this mode is selected, a user’s reply would be visible to all the other user roles enabled with the chat feature of the particular program. For example, if a supervisor is replying to an agent using Reply mode, then along with the agent, QA Verifier, QA Manager and all other user roles with chat feature will be able to view the reply.
Private: This is the mode where only the sender and receiver can exchange chat messages without letting the conversations be viewed by other user roles.
Notes:
- To use the chat feature in the agent console, an agent needs to select Manage Evaluation > My Evaluation.
- An agent console will not include a Private chat mode option.
To send a reply either in public or private mode, a user will have to select specific names from the select user field. A user name could be searched by using @ option.

A user also has the option to select multiple names at a time. However, the message will be delivered to one user at a time. Also, the highlighted user name denotes the one to whom the message is to be sent.

Highlighted in the above screen are two users namely Amanda and Amber. The screen displays Amber’s name being highlighted which denotes that the user will send the message to her. Similarly, to send any message to Amanda, the user will have to click on her name.
A user with any role enabled with the chat feature will receive the message notifications in his/her console as soon as they log in to the system.
Further, the user receiving notifications can view the messages by clicking on the notifications icon. This will display the messages sent by individual user roles in a compact window on the same console. The total number of messages by the sender will be also shown in the same window.
When a user clicks on the “Mark as all read” option then all the notifications will be disappeared.
A user also has the option to add attachments with the messages. This could be done by clicking on the attachment icon as shown below screen:

Notes:
- An attachment of a maximum of 5 MB can be uploaded as a message.
- An attachment must be of any of the mentioned extensions – tif, gif, pdf, jpg, png, jpeg, txt, bmp, xls, xlsx, docx, doc, zip,rar, and csv.
- The validity of an attachment to be downloaded by the receiver is for 7 days, exceeding which, the message will not be downloaded.
Video