The Client feature allows admin to efficiently oversee all clients within the QEval system. Administrators can seamlessly add new clients, effortlessly locate existing ones, and make necessary adjustments or removals as needed.
To access this feature, click on the Menu ![]() button or move the mouse on the left side of the page to open the Menu Bar. Click on the Manage
button or move the mouse on the left side of the page to open the Menu Bar. Click on the Manage  and then select Client option as shown below:
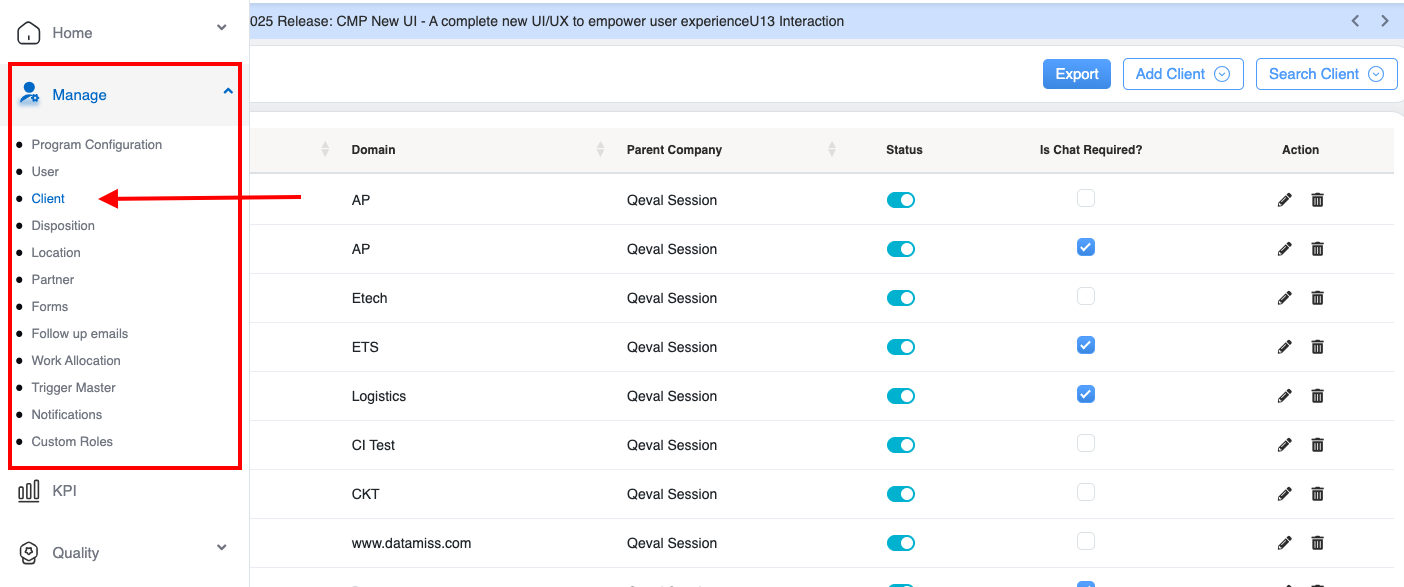
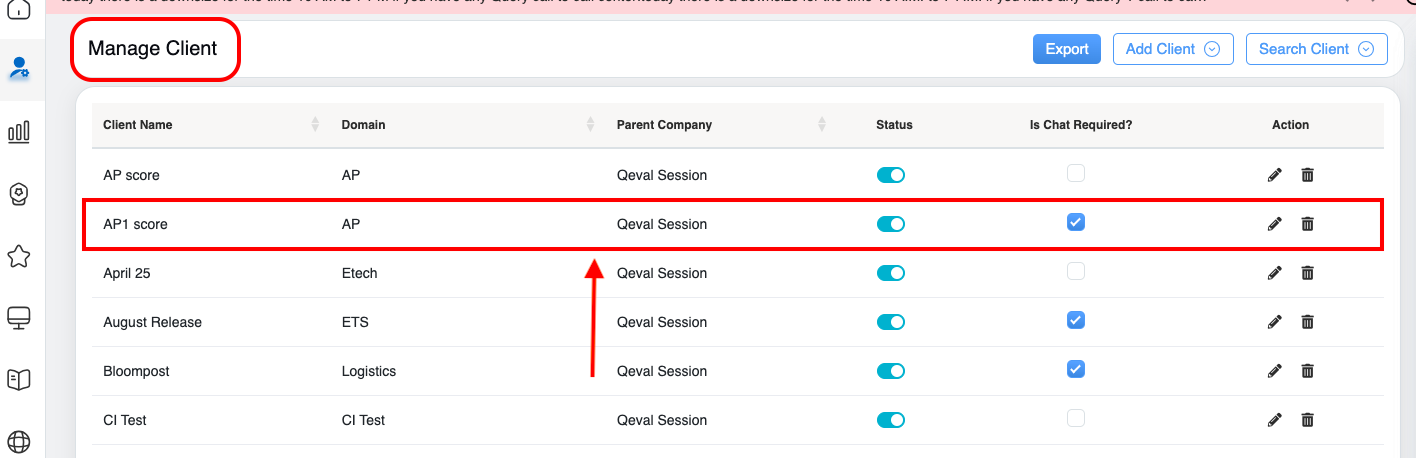
The user will be directed to the Manage Client page. This page displays the list of all the clients that are already created for different programs as shown below:
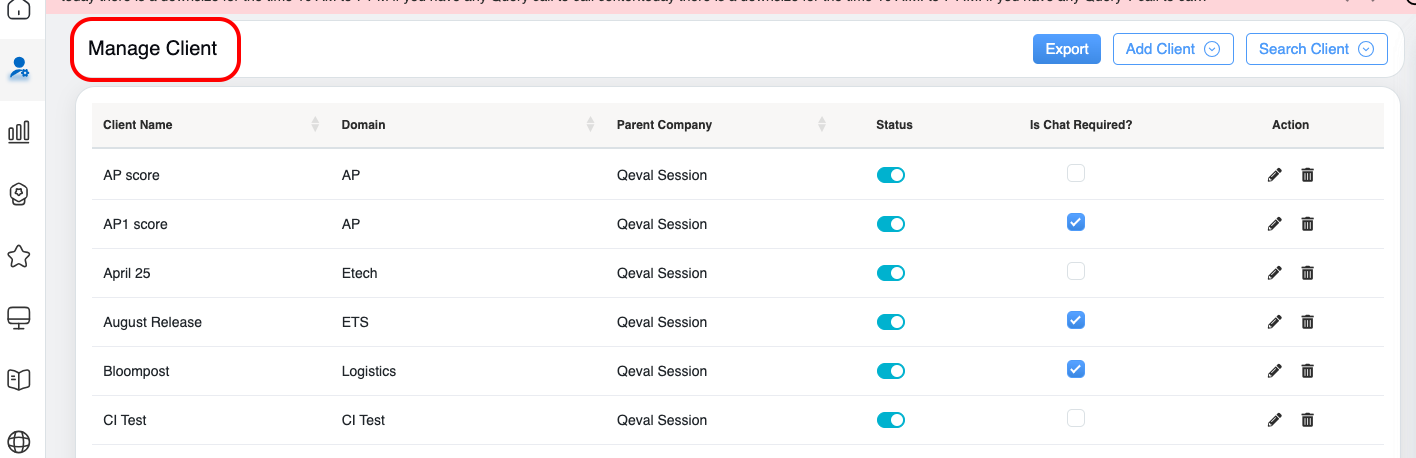
Manage Client tab
On the Manage Client page, the logged-in user will be able to access the mentioned below functionalities:
Add Client
The authorized user can add a new client and the associated domain within the QEval System. To add the new client details, click on the Add Client button displayed on the Manage Client page as highlighted in the screen below:
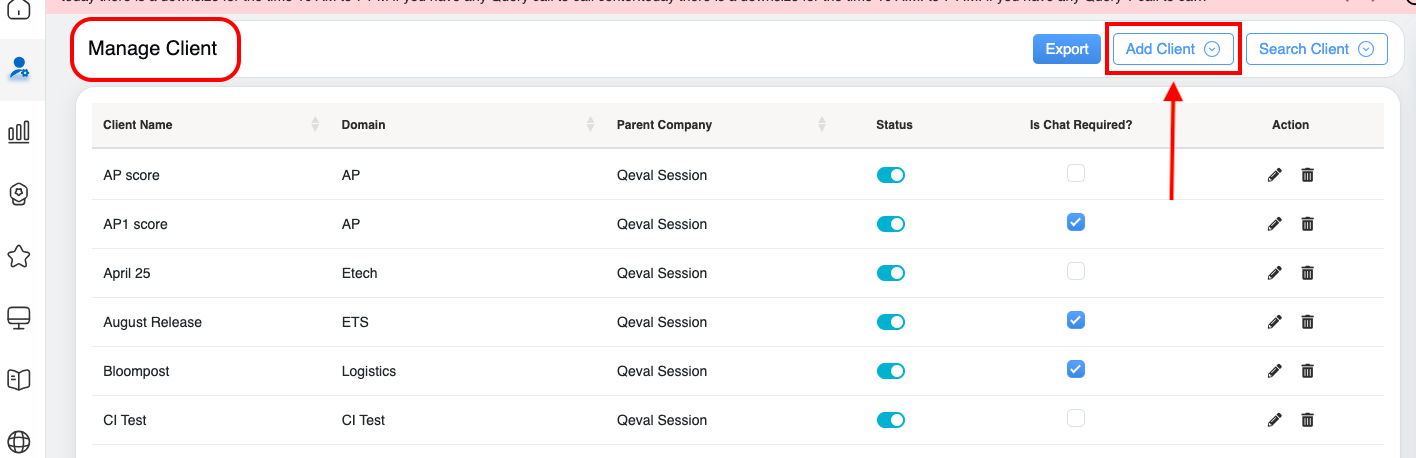
Add Client button
The Add Client window will be opened on the same page as shown below:
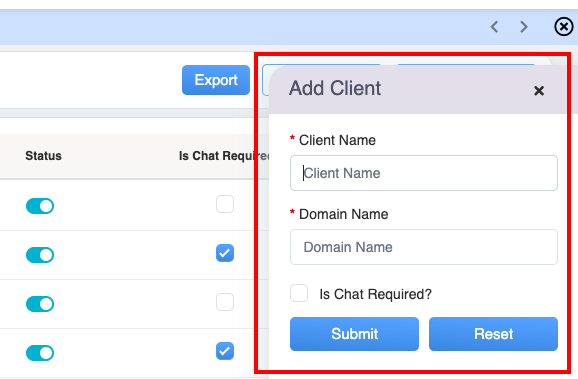
Add Client tab
Enter the name of the client and name of the domain in the textboxes displayed under Client Name and Domain Name respectively. Once the necessary fields are configured, click on the Submit button to add a new client detail. Click on the Reset button to reset the fields or click on the Cross ![]() button to close the add client window. An acknowledgment message will be displayed on the same page.
button to close the add client window. An acknowledgment message will be displayed on the same page.
Then, The user will be directed to the Manage Client page and the newly added client details will be displayed in the table grid and by default the status of the client will be Active:
Manage Client page
The data elements displayed in the table grid are explained below:
| Table Elements | Description |
| Client Name | Displays the added names of the client. |
| Domain | Displays the domain name for each client. |
| Parent Company | Displays the name of the parent company. |
| Status |
Displays the status of the client whether it is active or inactive. The toggle button allows users to change the Active client to Inactive and vice versa.
(Refer to Search Client to search active or inactive client details) |
| Action |
The Edit The Delete |
Search Client
A Search Client features helps the logged-in user to search active or inactive client details added in the QEval system.
To access this functionality, click on the Search Client button available on the Manage Client page as highlighted in the screen below:
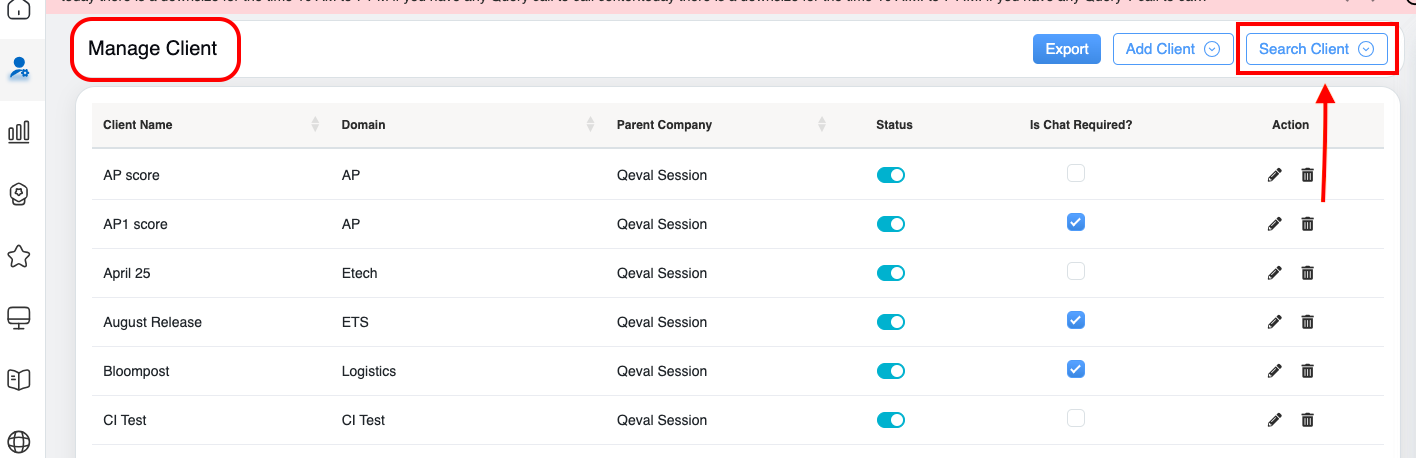
Manage Client tab – Search button
The Search Client window will be opened on the same page. The window displays the search criteria based on which the user can search for the specific active or inactive client details.
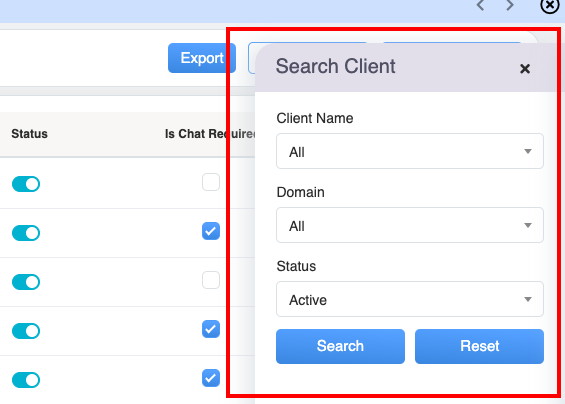
The client details can be searched by following mentioned below steps:
- From the Client Name drop-down menu displays the list of clients. Select the name of the client from the list. One can also search for the name of the client by entering keywords in the Search Bar textbox displayed under the drop-down field.
- From the Domain drop-down menu displays the list of domain names. Select the domain name from the list. One can also search for the name of the domain by entering keywords in the Search Bar textbox displayed under the drop-down field.
- To search Active clients, click on the Status drop-down menu and then select Active option to search all the active client details on the selected criteria.
Once the necessary search filters are configured, click on the Search button to search the active client details, or click on the Reset button to reset the search filters.
Based on the selected criteria, the search results of Active client details will be displayed in the table grid as shown below:
Manage Client tab
To change the specific client status from Active to Inactive, click on the Active ![]() toggle button displayed under the Status column. An acknowledgment message will be displayed, and the selected client status will be changed to inactive.
toggle button displayed under the Status column. An acknowledgment message will be displayed, and the selected client status will be changed to inactive.
Note: By clicking on the Edit ![]() button the user can change the client status from Active to Inactive. (Refer to Edit Client for more details)
button the user can change the client status from Active to Inactive. (Refer to Edit Client for more details)
The Inactive client details can be searched based on selected criteria – Client Name, Domain Name and from Status drop-down menu select the Inactive option. Once the necessary search filters are configured, click on the Search button to search the inactive client details, or click on the Rest button to reset the search filters. Based on the selected criteria, the search results of Inactive client details will be displayed in the table grid as shown below:
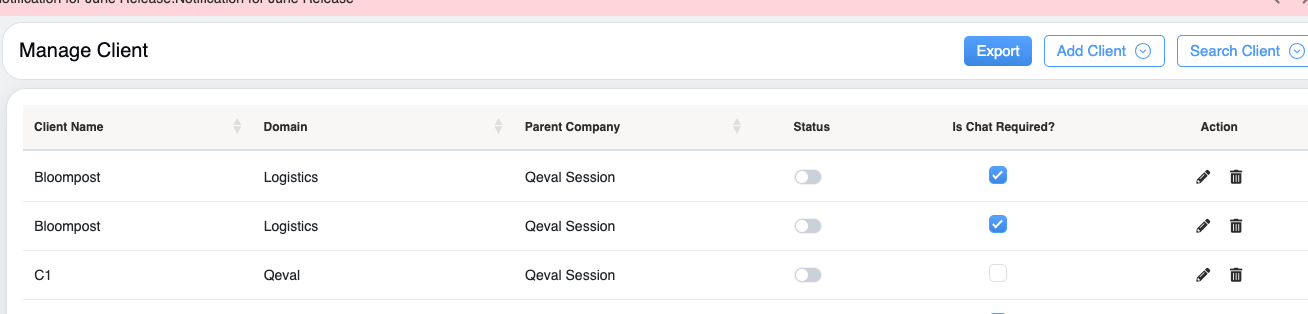
Manage Client tab (Inactive)
To change the specific client status from Inactive to Active, click on the Inactive ![]() toggle button displayed under the Status column. An acknowledgment message will be displayed, and the selected sub program status will be changed to active.
toggle button displayed under the Status column. An acknowledgment message will be displayed, and the selected sub program status will be changed to active.
Note: By clicking on the Edit ![]() button the user can change the client status from Inactive to Active. (Refer to Edit Client for more details)
button the user can change the client status from Inactive to Active. (Refer to Edit Client for more details)
The data elements displayed on the table grid are explained below:
| Table Elements | Description |
| Client Name | Displays the added names of the client. |
| Domain | Displays the domain name for each client. |
| Parent Company | Displays the name of the parent company. |
| Status |
Displays the status of the client whether it is active or inactive. The toggle button allows users to change the Active client to Inactive and vice versa.
|
| Action |
The Edit The Delete |
Edit Client
On the Manage Client page, the authorized user can edit the added active or inactive client details.
To access this functionality, click on the Edit ![]() button displayed under the Action column as highlighted in the screen below:
button displayed under the Action column as highlighted in the screen below:
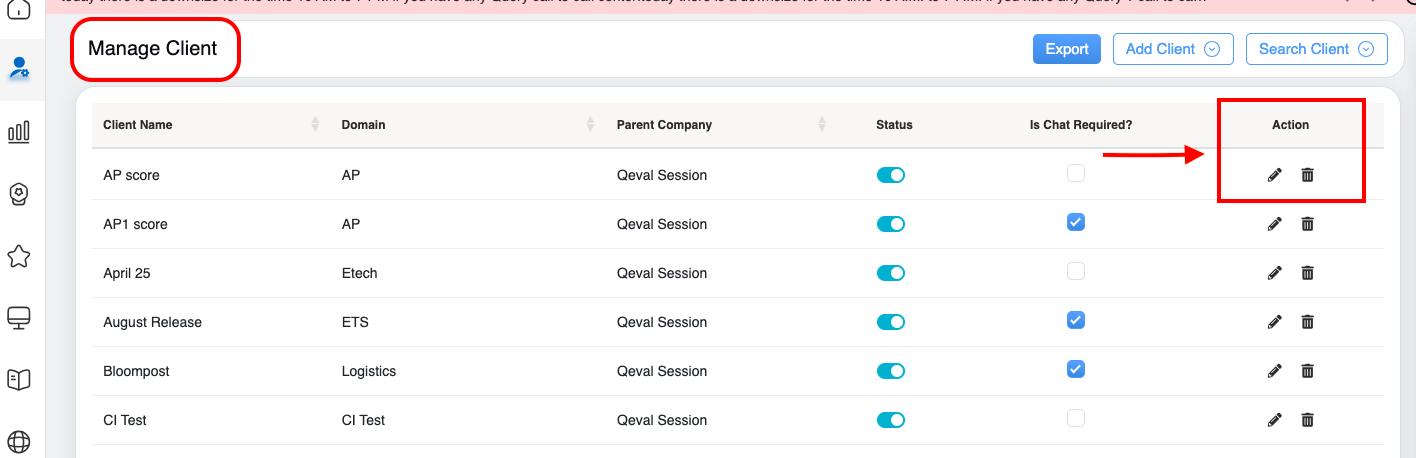
Action button > Edit button
Note: Refer to Search Client to search the inactive client details.
The Edit Client window will be opened on the same page.
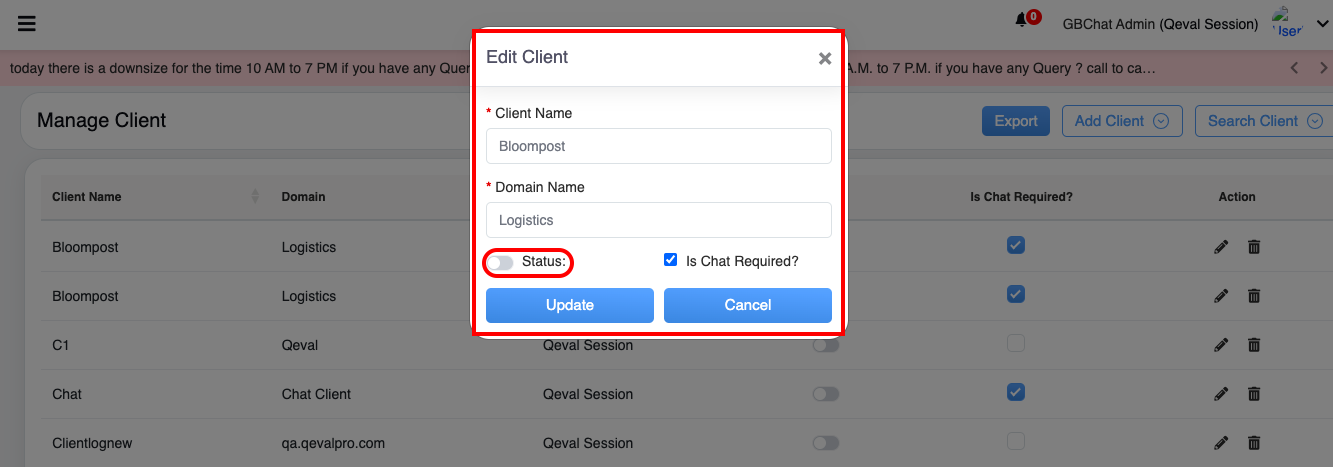
On the Edit Client window, the user can modify the details and can change the client status from Active to Inactive and vice versa by clicking on the Toggle button displayed besides the Status as highlighted in the screen below:
Once the necessary modifications are done for specific client, click on the Update button to save the changes, or click on the Cancel button to discard the changes. (Refer to Add Client for more details.) An acknowledgment message will be displayed as shown below:
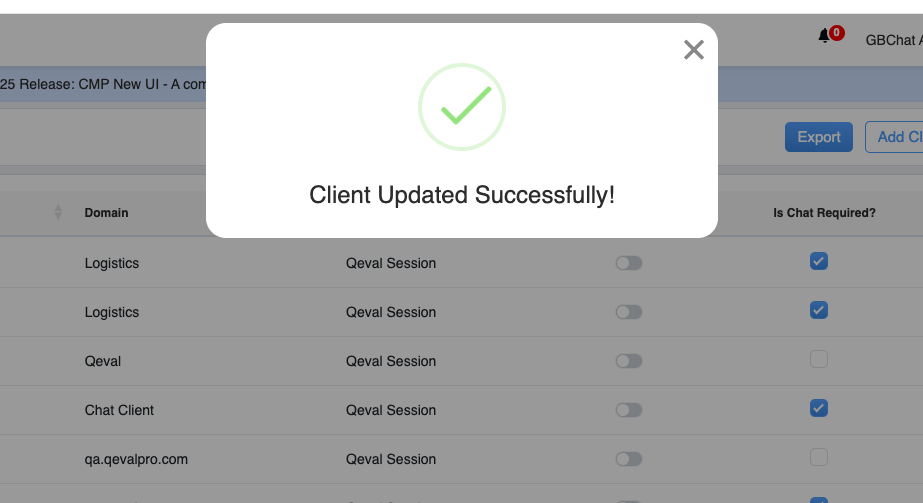
Acknowledgment message
The user will be directed to the Manage Client page and the table grid will be updated with the client details.
Manage Client page
The data elements displayed in the table grid are explained below:
| Table Elements | Description |
| Client Name | Displays the added names of the client. |
| Domain | Displays the domain name for each client. |
| Parent Company | Displays the name of the parent company. |
| Status |
Displays the status of the client whether it is active or inactive. The toggle button allows users to change the Active client to Inactive and vice versa.
(Refer to Search Client to search active or inactive client details) |
| Action |
The Edit The Delete |
Delete Client
On the Manage Client page, the authorized user can delete the specific client details from the QEval system.
To access this functionality, click on the Delete ![]() button displayed under the Action column as highlighted in the screen below:
button displayed under the Action column as highlighted in the screen below:
Action button > Delete button
Note: Refer to Search Client to search the inactive clients and delete the specific inactive client details.
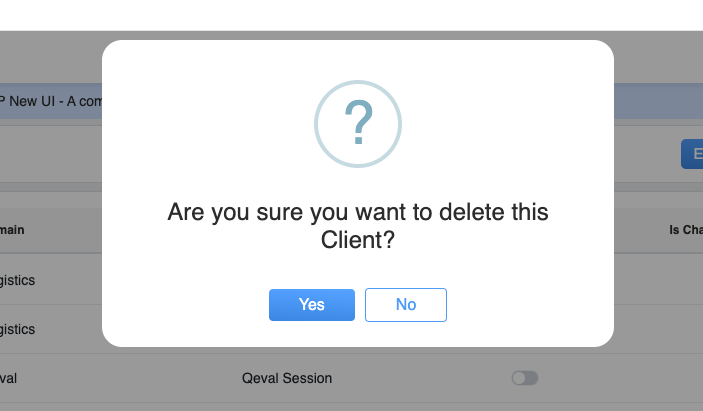
Confirmation Message
A confirmation message will be displayed on the same page. Click on the Yes button to delete the client details or click on the No button to discard this process.
Notes:
- It is advisable to change the client status to “Inactive” rather than opting to delete the client details.
- Deleting a client will result in the permanent removal of the specific client details from the QEval system, making it impossible for the user to fetch or recover the deleted details.
An acknowledgment message will be displayed, and the specific client will be permanently deleted from the QEval system.
Export
One can export the client details in Excel format. To do so, click on the Export button.

Export button
The file will be exported to the local system in the excel format.
Video