Report Scheduler feature allows the logged-in users to share the report with other users by adding their email-id in the scheduler or by scheduling a report with specific filters with a set frequency for themselves. It automates the report delivery to the mailbox with the set period of time interval (once, weekly, monthly) so that user can receive the reports regularly without manual intervention.
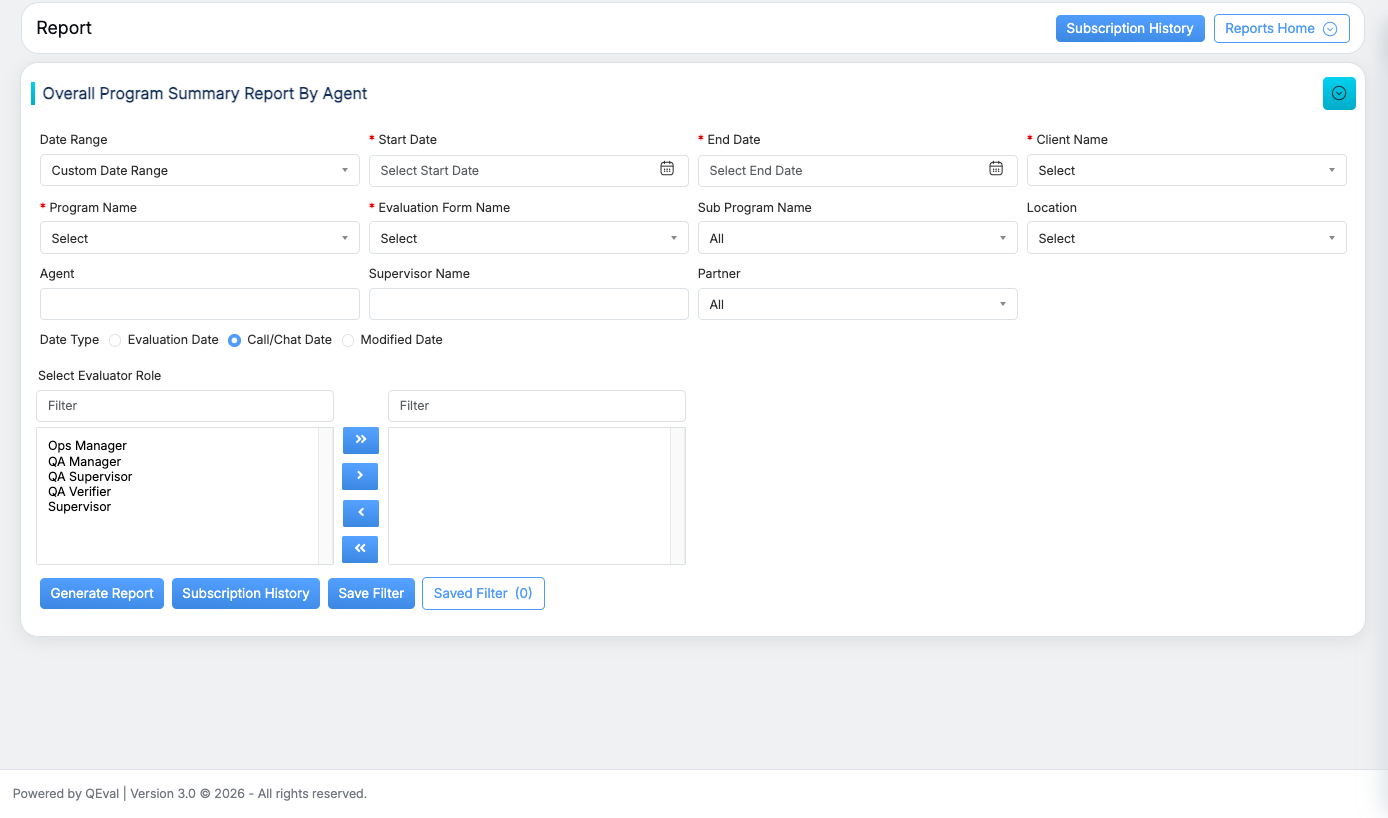
In order to set the report schedule, go to any report, fill all the details in the fields mention in the report and then click on “Generate Report” as Shown below:
Once the report is generated based on the search criteria, click on the Subscribe button to schedule the specific report as highlighted in the screen below:
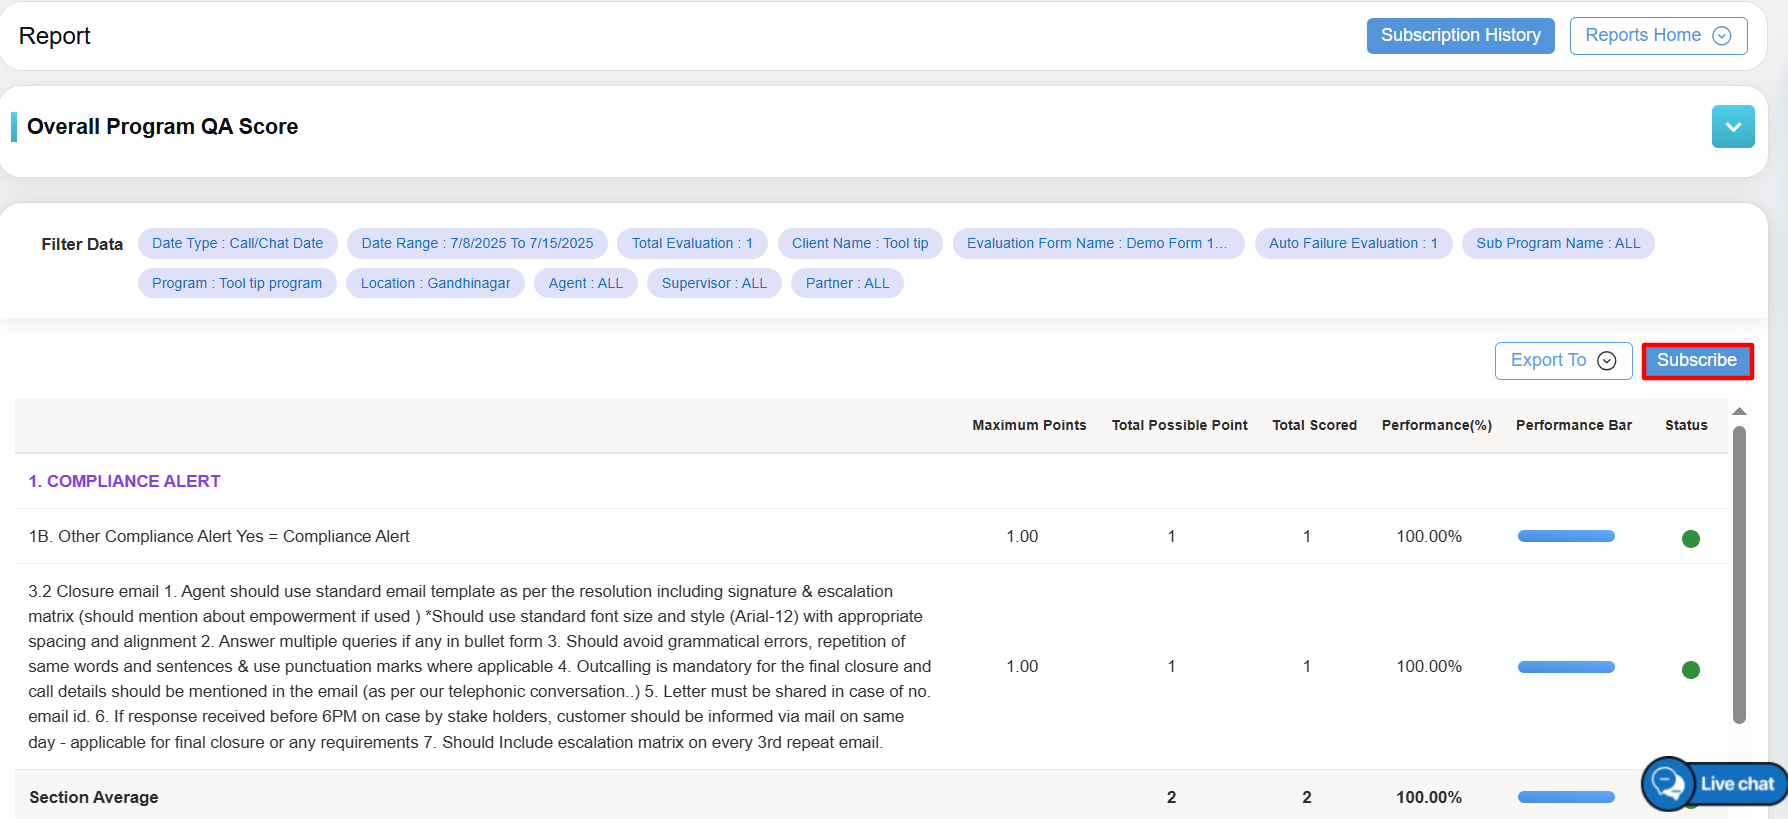
Subscribe Button
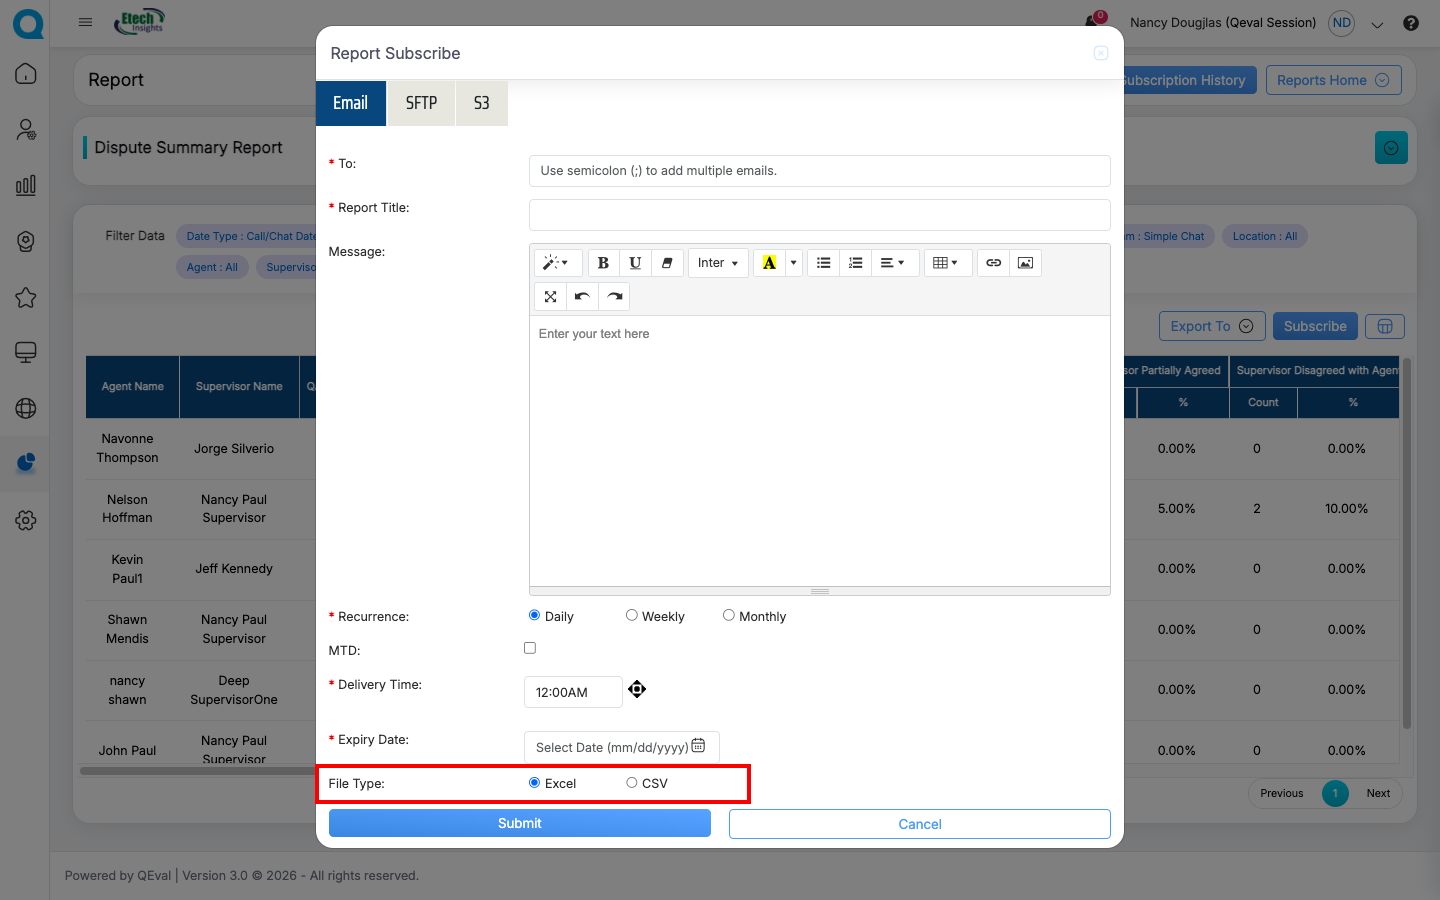
Once you click on “Subscribe” button, it pop-up a new window of Report Subscribe as mentioned in below screenshot:
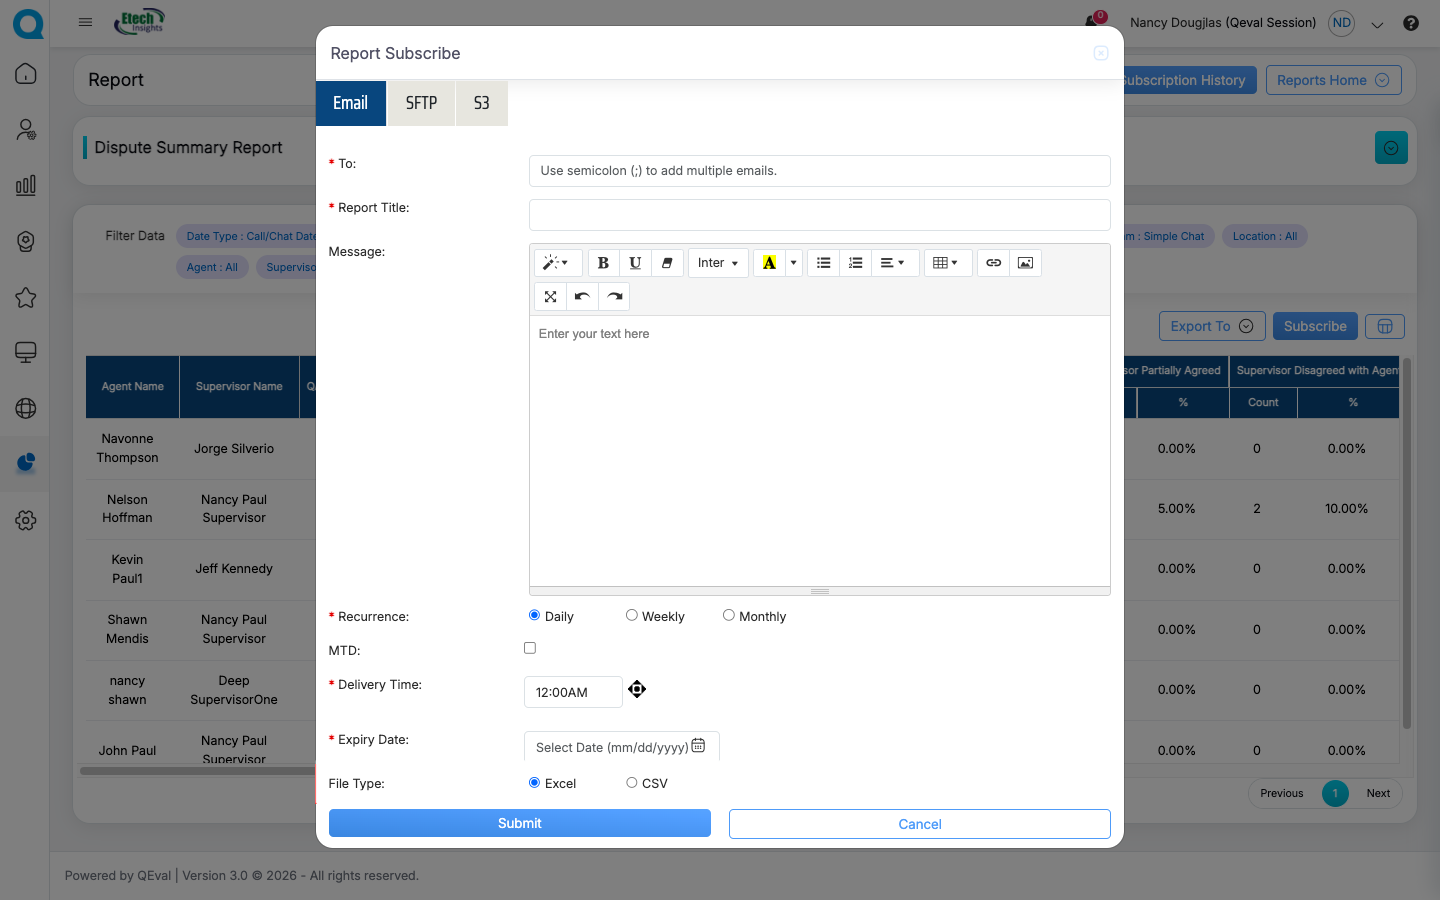
The data elements displayed on the screen are explained below:
- To: Mention the email ID to whom you need schedule a report. You can add multiple email IDs and separate it by semi-colon.
- Report Title: Add the title of the report.
- Message: Mention the content which you want to add under email body.
- Recurrence: It shows Once, Weekly, Monthly. This means it schedule the report weekly, monthly or you need only once, you can select as per your requirement.
- When the Recurrence as Daily is selected you need to select
- Delivery Time: Select the timing for report delivery.
- Expiry Day: Select the expiry date on while the report scheduling will stop.
- When the Recurrence as Daily is selected you need to select
Recurrence Daily Options
-
- When the Recurrence as Weekly is selected you need to select
- Delivery Time: Select the timing for report delivery.
- Selected Days: You can select the days by clicking on the checkbox for which it will trigger an email notification on every week on that day. E.g. If you select “Monday” & “Friday”, it will trigger an email notification for the report on every Monday & Friday of the week.
- When the Recurrence as Weekly is selected you need to select

Recurrence Weekly Options
-
- When the Recurrence as Monthly is selected you need to select
-
-
-
- Delivery Time: Select the timing for report delivery.
- From On the following day and On this day of the month select any 1 option
- On the following day: It allows to select the date and the day of the specific month for which the report will be scheduled
- On this day of the month: It allows to select the date of the month for which the report will be scheduled.
-
-
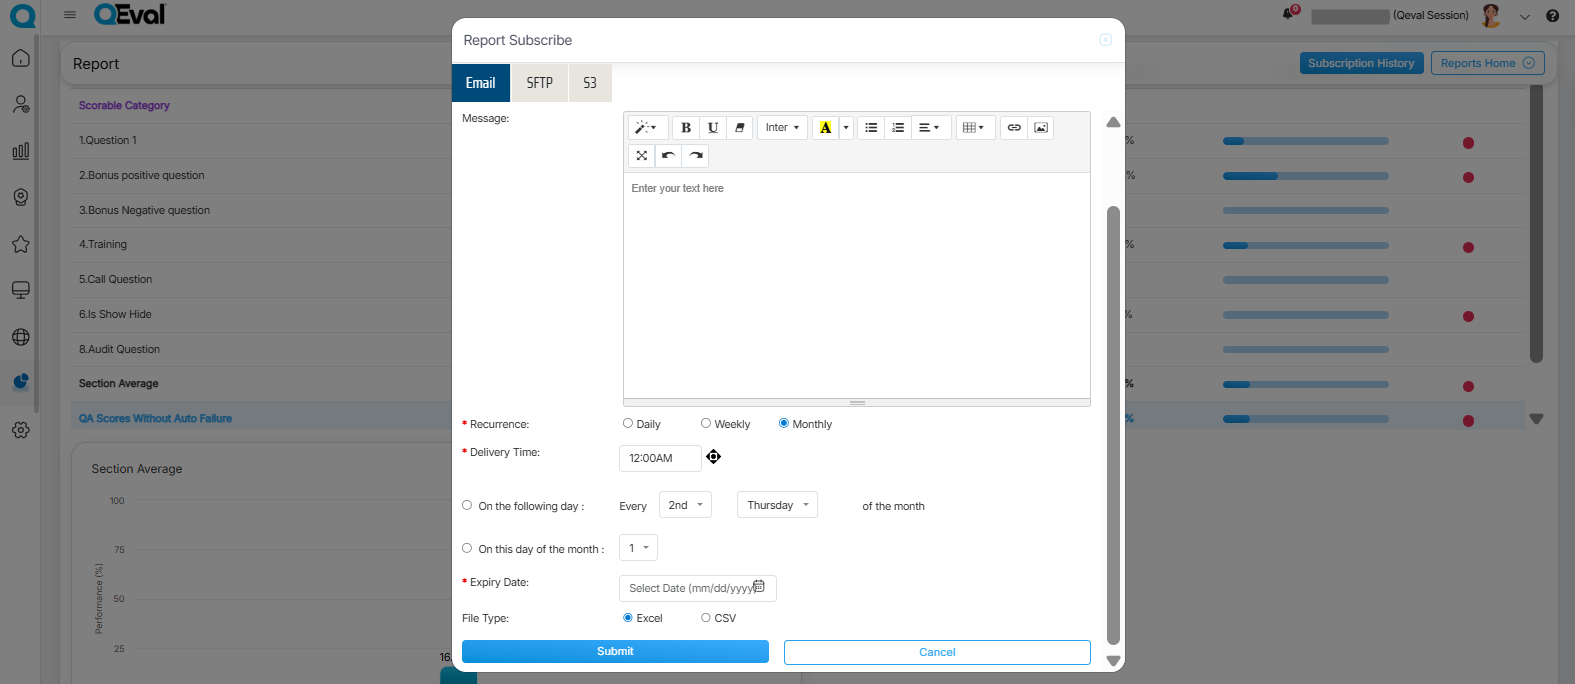
Recurrence Monthly Options
At the end, the user needs to select the preferred file format, Excel or CSV, to subscribe to the report in that format.
Once the necessary details are configured, click on the Submit button to subscribe the report or click on the Cancel button to discard the process.
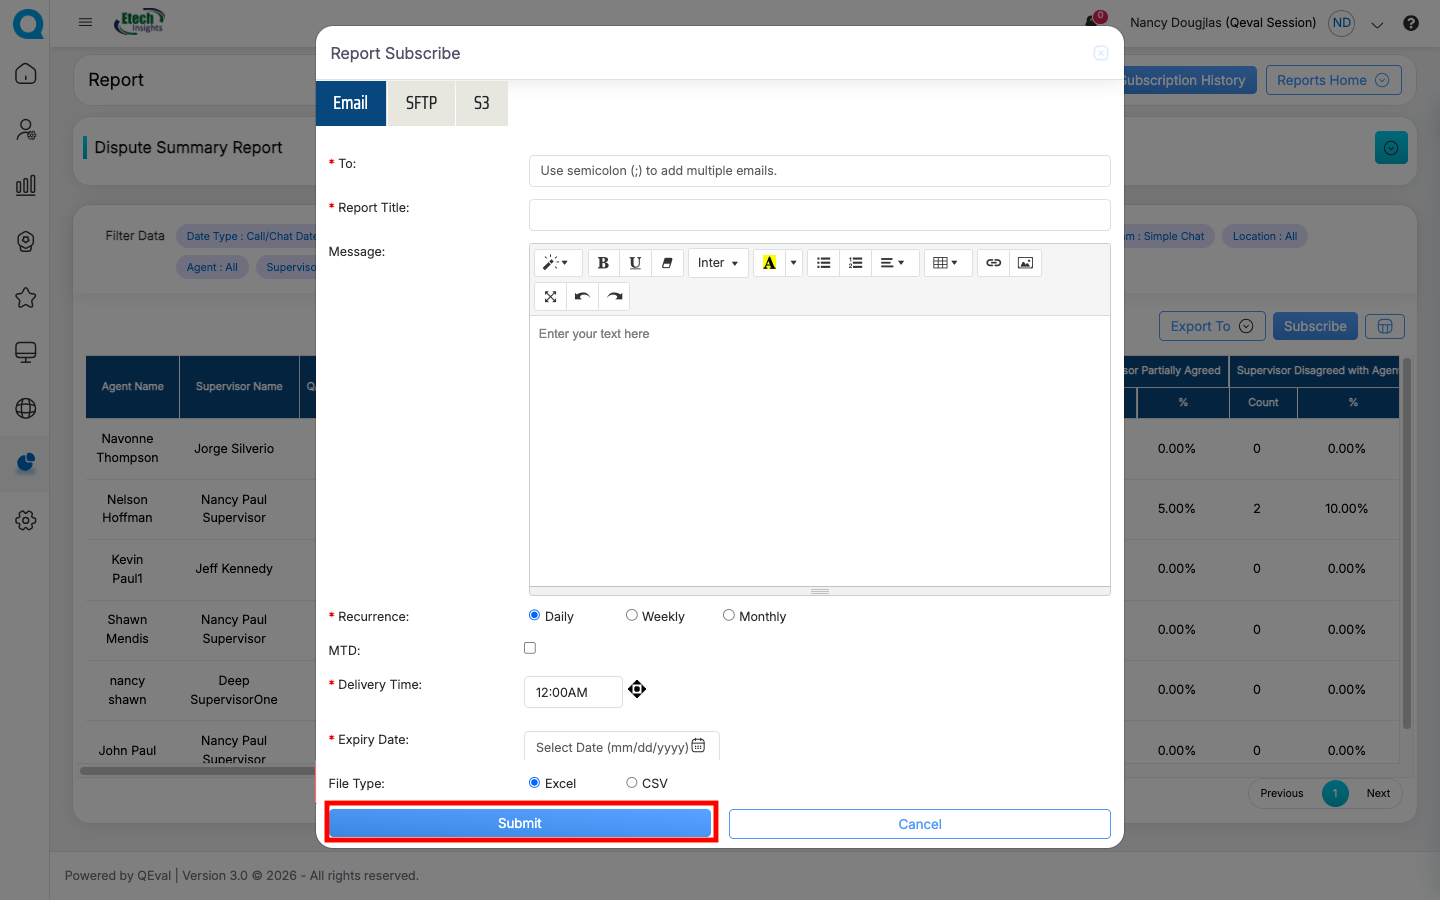
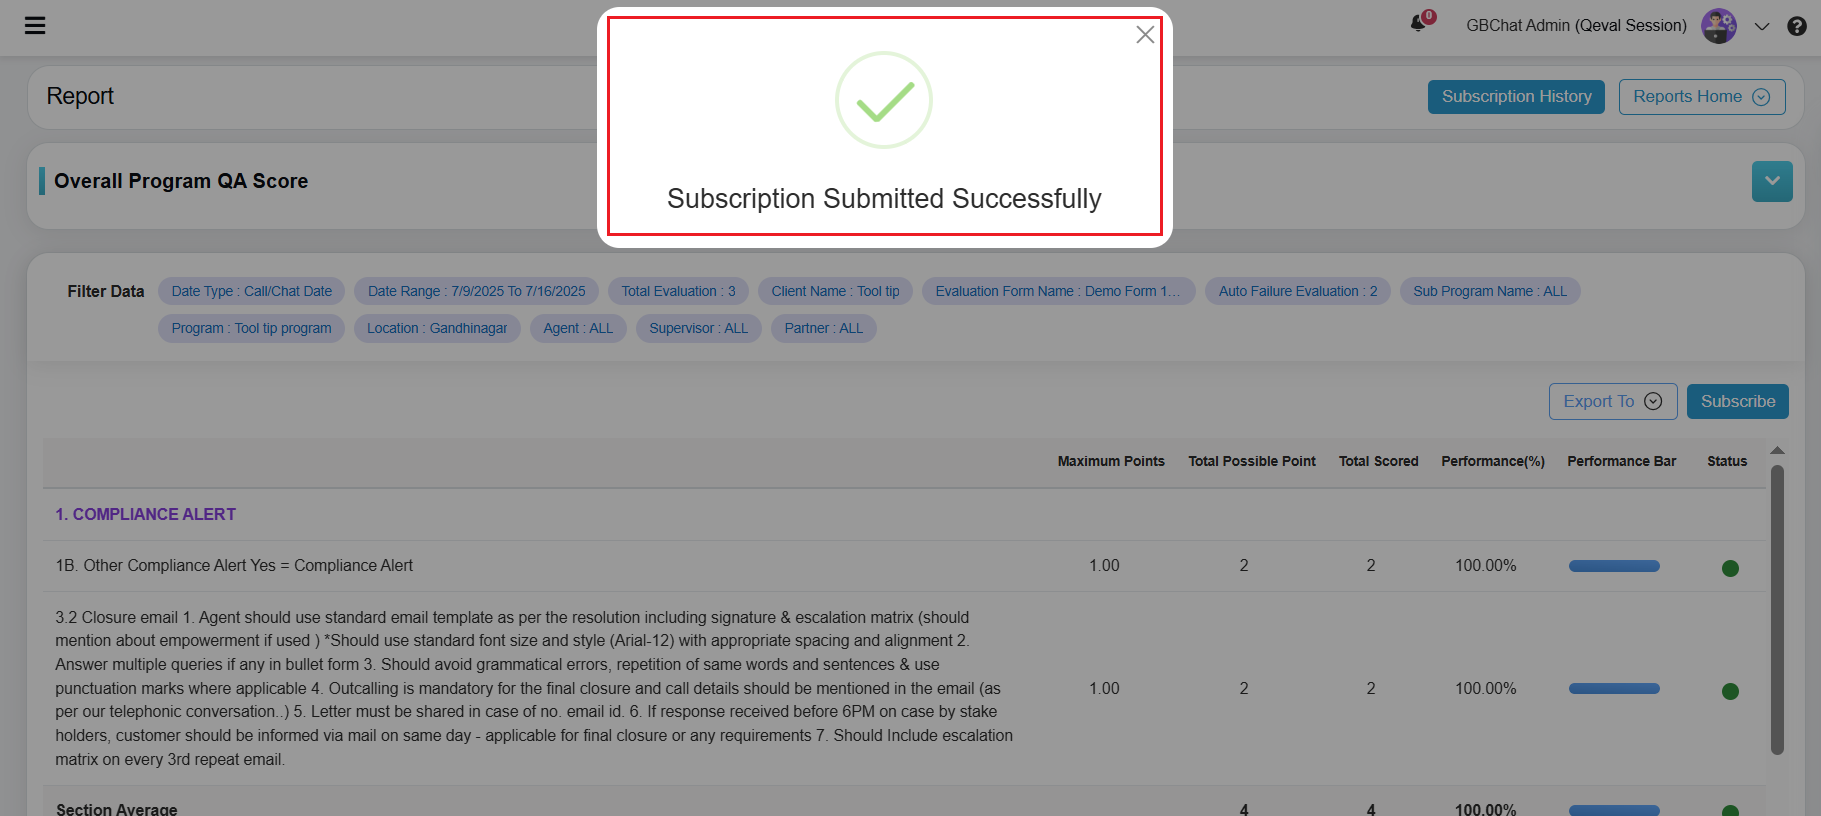
An acknowledgment message will be displayed on the screen and the report will be scheduled.
In order to edit/modify the report schedule, please scroll upward where you have generate report. Beside it, it has an option of “Subscription History” as shown below.
The Report Scheduled Grid window will be opened, where you can see the report schedule subscription details as mentioned in below screenshot:
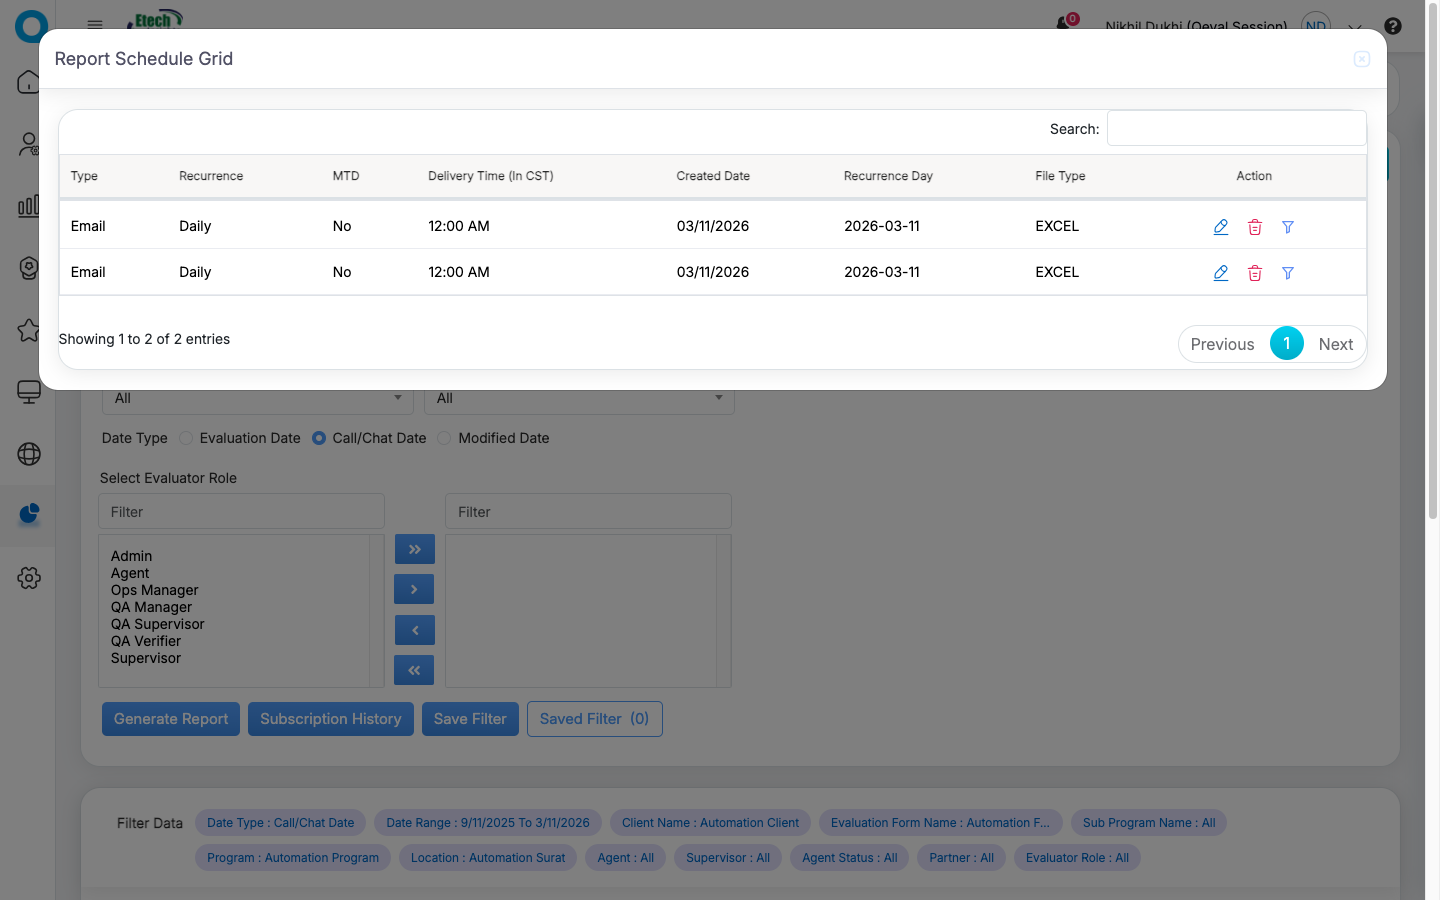
All subscription history details are available in the grid view. Under the Action column, you can use the Edit icon to modify subscription details. Clicking it opens the same form used during creation, where you can update the information and click Submit to save the changes.
To remove a subscription, click the Delete icon under the Action column.
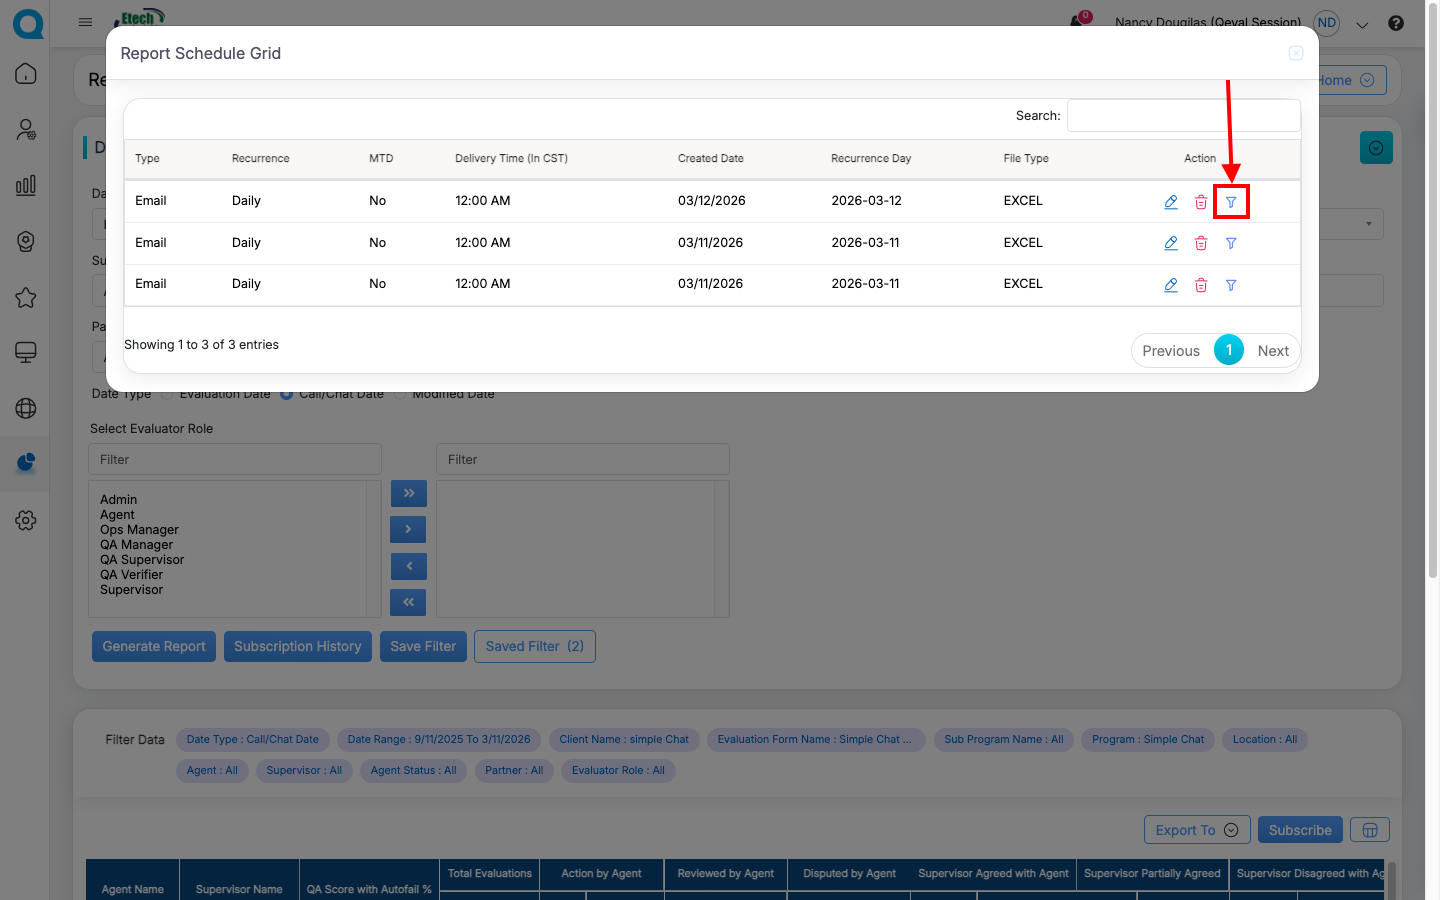
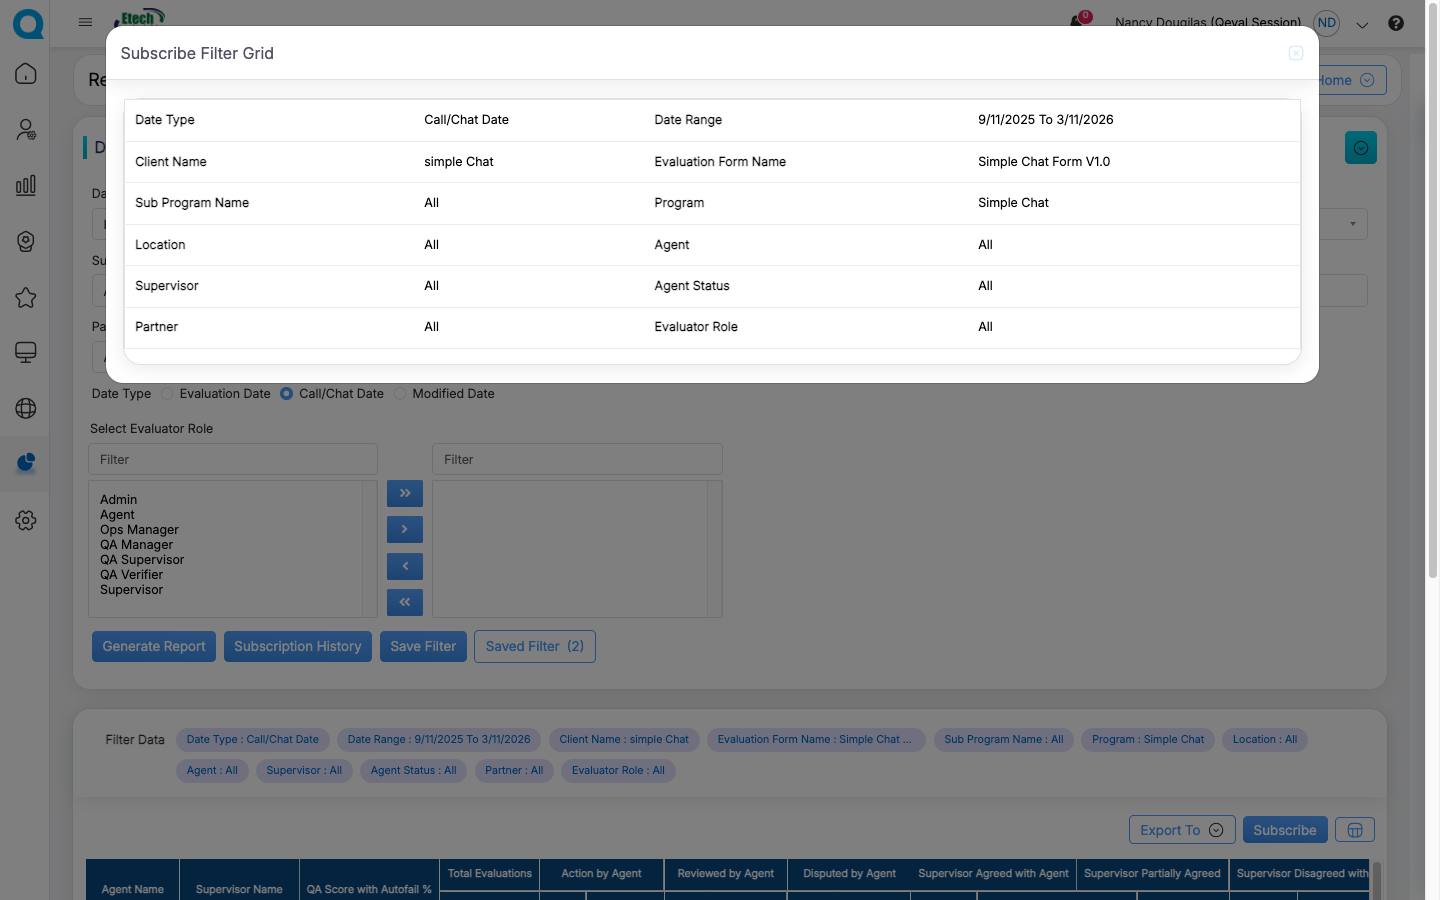
The Action column also provides a Report Subscribe Display Filter button as shown above, which allows you to view the filters that were selected when generating the report. Click this button to review the applied report filters as shown below.
Once everything has been setup, this will trigger an email notification as per the report scheduled date, day and time. It will trigger an email notification with the report file.
Video