The Survey Landing Form in QEval allows clients to design and customize a common landing page that is displayed to respondents before they begin the survey. From this landing page, respondents can select the required sub-brand using the dropdown option as well.
The landing page helps set the context, reinforce branding, and guide respondents to start the survey by clicking the action button (for example, Start the Survey).
Once configured, the survey landing form is applied across all survey forms.
How to Configure the Survey Landing Form
Navigate to the Survey -> Survey Landing Form section and complete the fields under the Landing tab.

Configurable Fields
Clients can customize the following details:
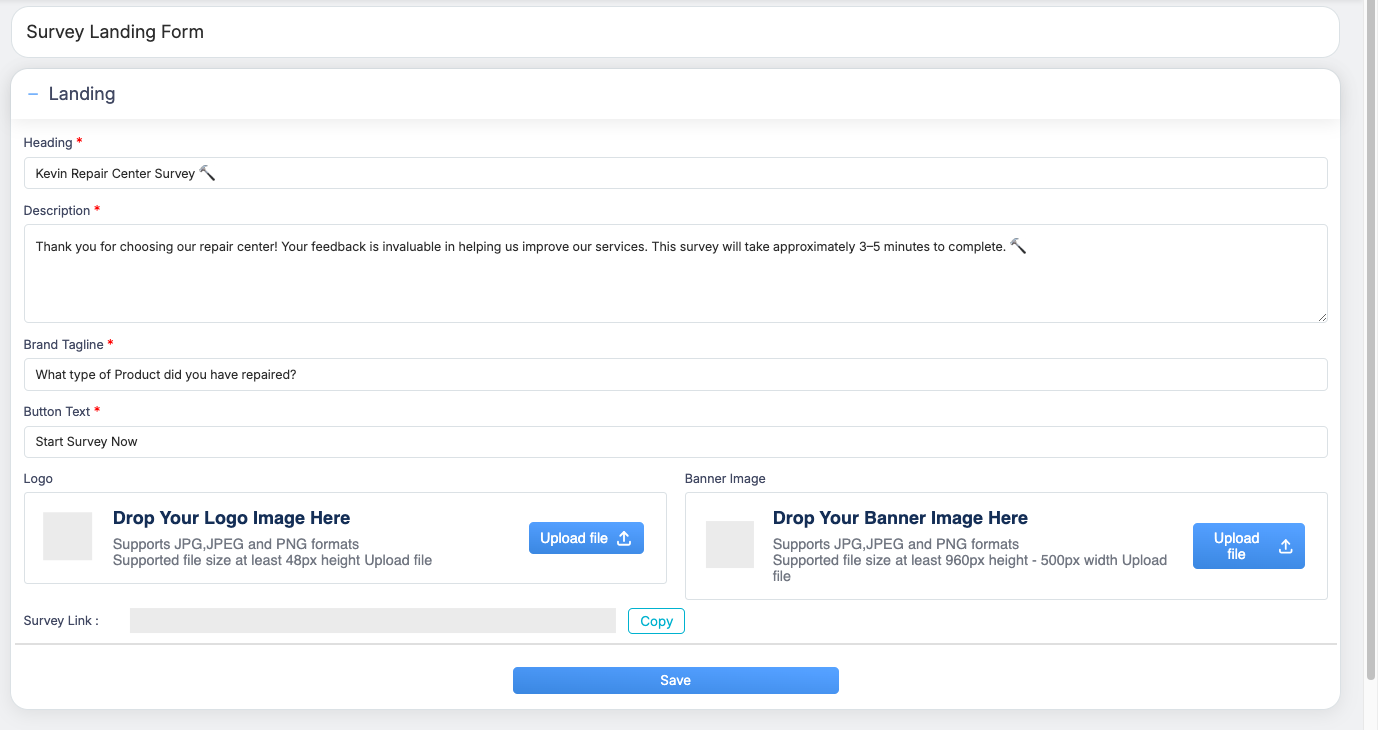
1. Heading
-
Enter the title of the survey (for example, Kevin Repair Center Survey).
-
This heading appears prominently at the top of the landing page.
2. Description
-
Provide a brief message explaining the purpose of the survey.
-
You may include information such as:
-
Appreciation message
-
Importance of feedback
-
Estimated time to complete the survey (for example, 3–5 minutes)
-
3. Brand Tagline
-
Add a short tagline or introductory question related to the survey.
-
Example: What type of product did you have repaired?
4. Button Text
-
Define the call-to-action text shown on the survey start button.
-
Example: Start Survey Now
Branding Options
5. Logo Upload
-
Upload your organization’s logo.
-
Supported formats: JPG, JPEG, PNG
-
Recommended minimum size: 48px height
6. Banner Image Upload
-
Upload a banner image to enhance the visual appearance of the landing page.
-
Supported formats: JPG, JPEG, PNG
-
Recommended size: At least 960px height and 500px width
Survey Link
-
The Survey Link is automatically generated.
-
Use the Copy button to copy the public survey URL and share it with respondents via email, SMS, or other channels.
Saving the Landing Form
-
After entering all required details, click Save.
-
Once saved, the survey landing form is created and applied as the default landing page for surveys.
Key Notes
-
Fields marked with an asterisk (*) are mandatory.
-
Any updates made to the landing form will reflect wherever the survey link is used.
-
Ensure branding assets meet the recommended size requirements for optimal display.
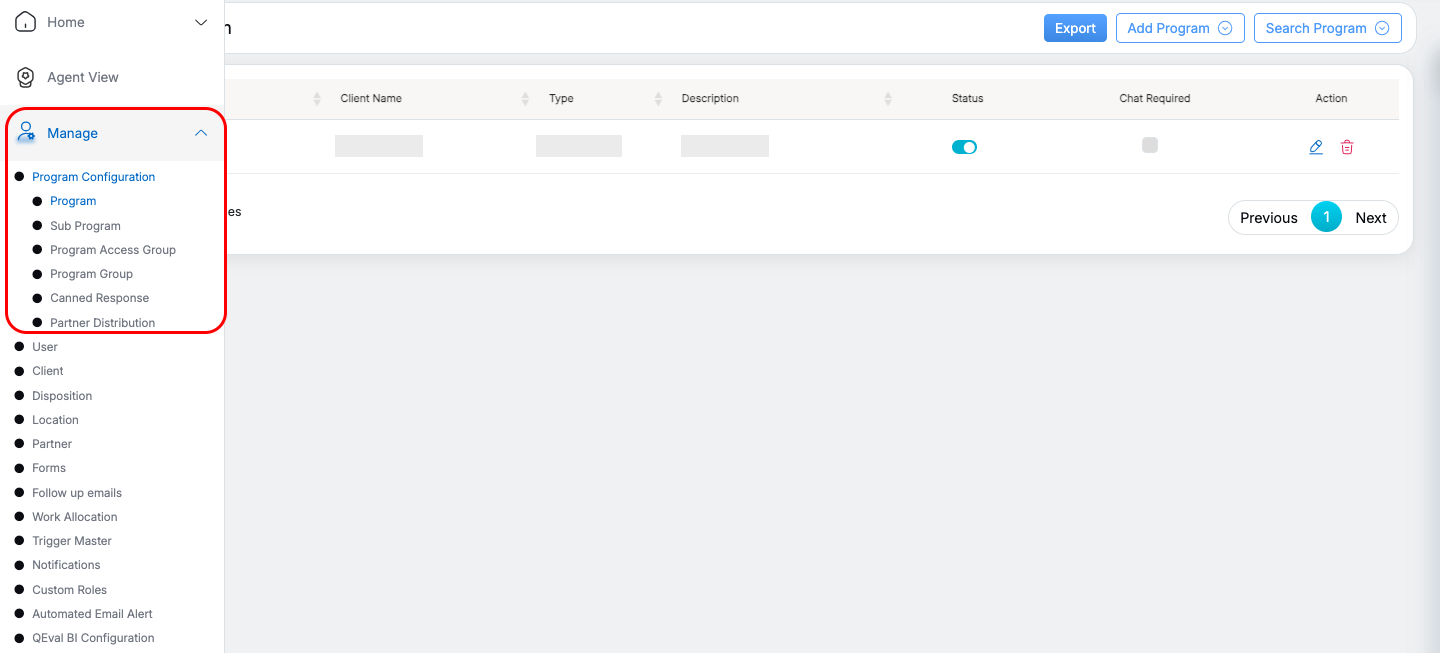
Program-Level Brand Logo Configuration
You can add or update a Program/Brand logo from the Program Level Configuration. This logo will be visible to users when they select the brand. Follow these steps to configure it:
-
Navigate to Manage > Program Configuration.
-
Select the program you want to update.
-
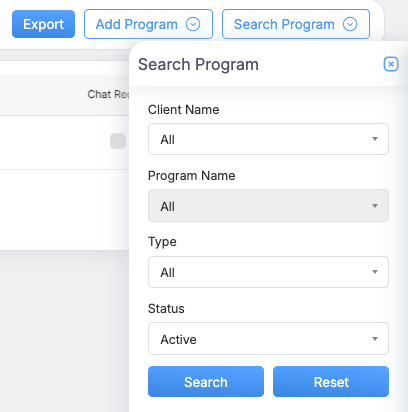
Use the Search button to locate the specific program.
-
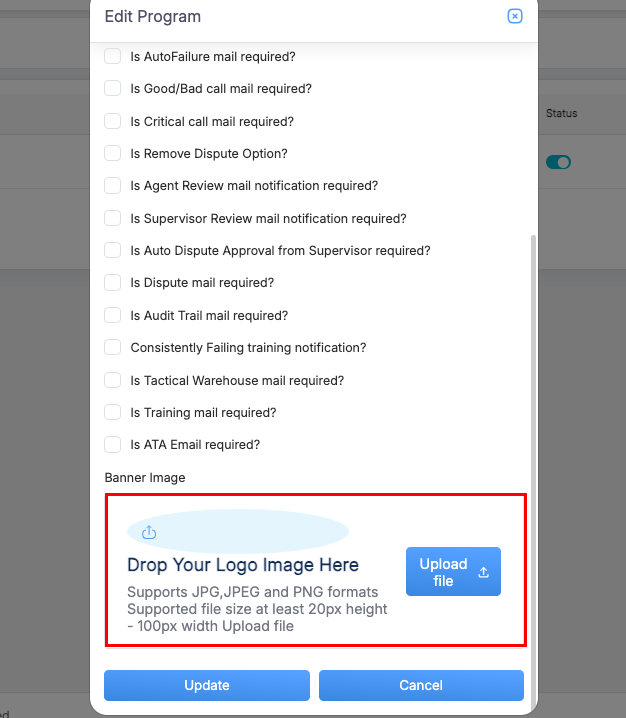
Once the program appears in the list, click the Edit button on the right.

-
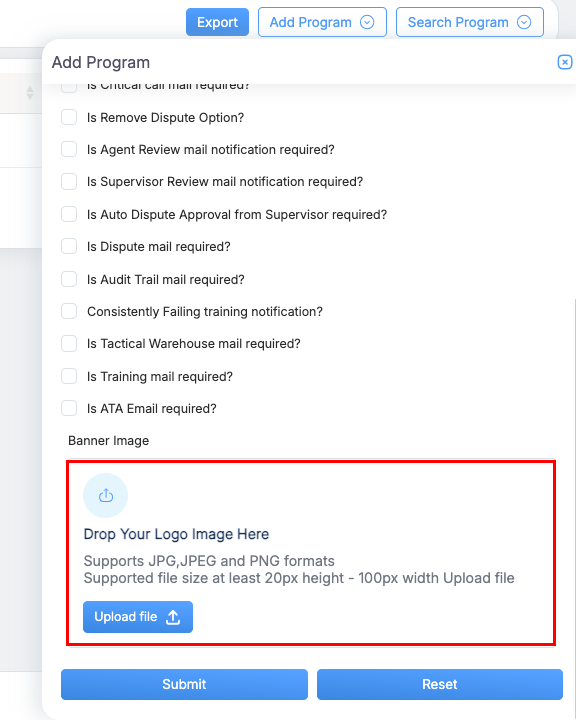
Scroll to the bottom of the Edit Program page.
-
Under Attach Program Logo, upload the desired logo file.
-
Click Update to save the changes.
- You can also attach a logo while adding a program: click Add Program, enter the program details, scroll to the “Attach Program Logo” section, upload the logo, and click Submit.
The Program/Brand logo configuration will now be applied and visible when users select the program.
Survey UI Flow When a User Accesses the Survey Link
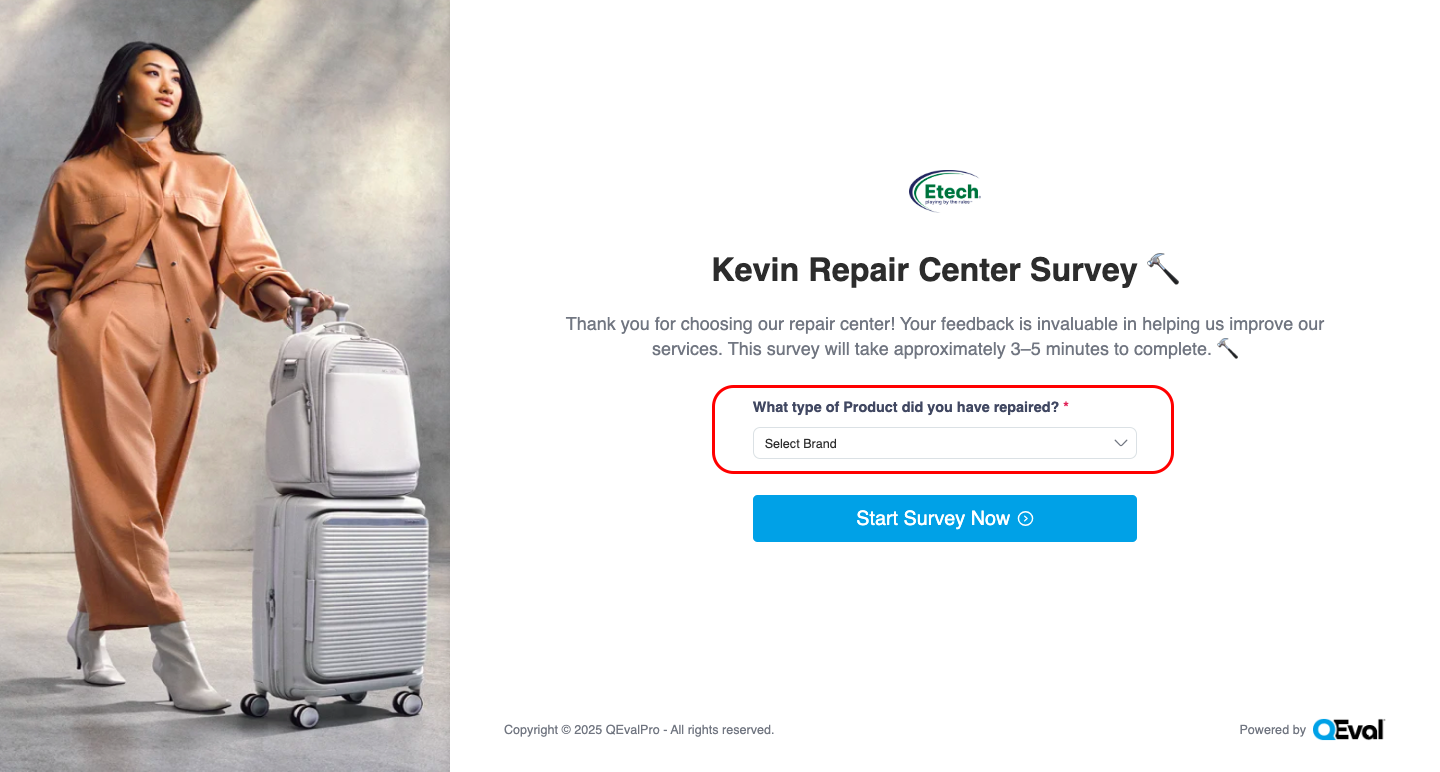
When a user clicks the shared survey link, they are taken to the survey landing page, where they:
-
See the question “What type of product did you have repaired?”
-
Select the required Program/Brand from the dropdown list
- After selecting the Program/Brand, users click Start Survey Now button to begin the survey.
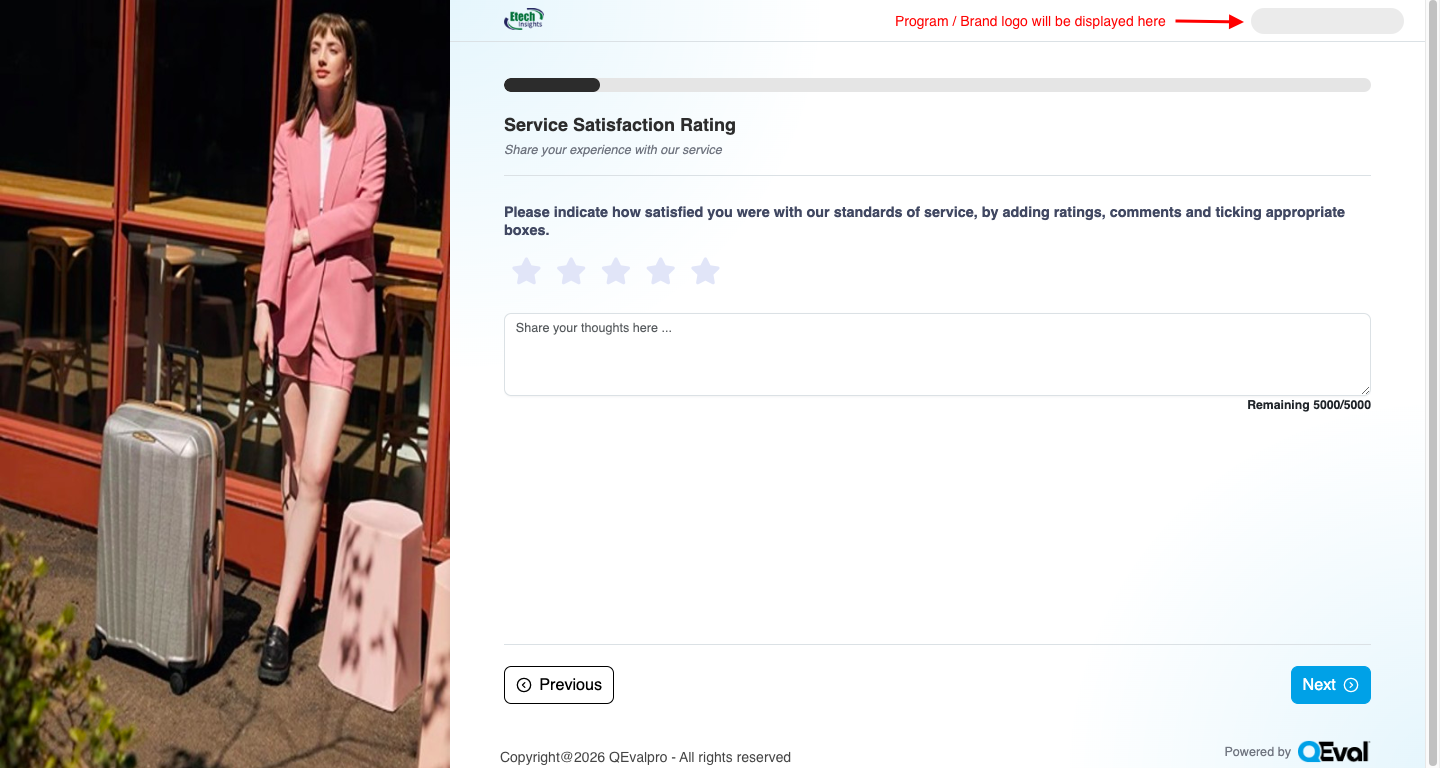
-
The survey form opens with the selected Program/Brand logo displayed at the top-right corner.
-
Users complete the survey by providing ratings, comments, and other feedback.
-
The logo is automatically pulled from Program Level Configuration, ensuring consistent branding throughout the survey experience.
Video